I got to know someone from New Jersey when I attended college in San Diego. Most of us said “beach”, but our New Jersey suite mate said “shore”. Actually I think she said “sho-ah”.
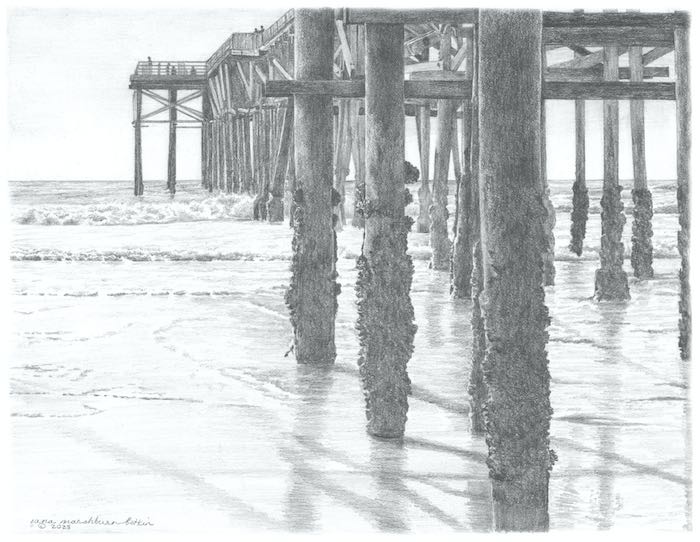
The owners of my pier drawing asked me to draw some “shore birds”, but I think they are both native Californians. That’s okay, I knew what they meant.
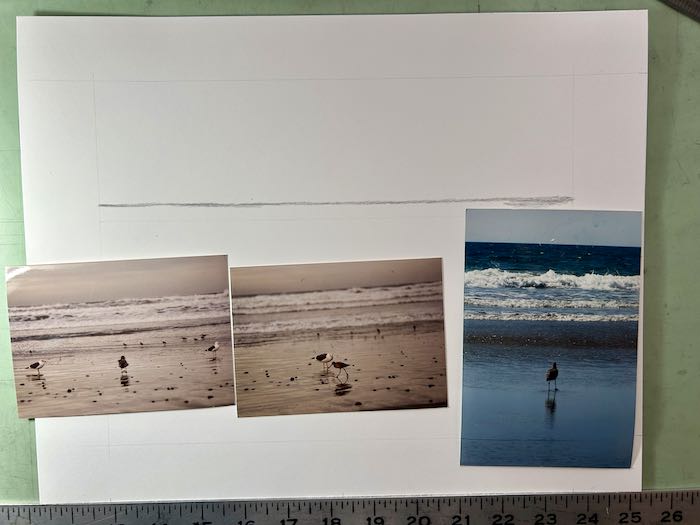
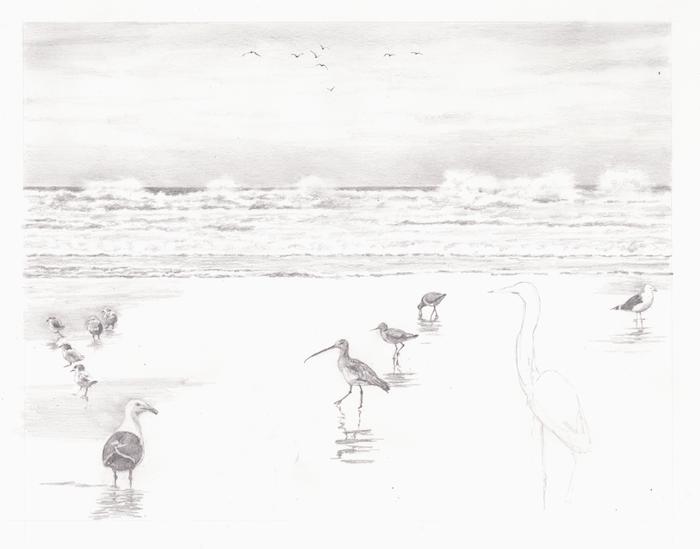
I got ahead of myself, and stopped drawing to ask this question: “Do you want me to make them exactly the same as in the one you saw on my blog, or may I have freedom to move the birds around and add some more?”
The answer came back thus: “I didn’t save the picture from the blog, so I can’t answer you precisely- however I think the artist’s choice would be most satisfactory. Just not too busy – the wave action in the pier drawing is kind of serene, so the shore birds might reflect the same.”
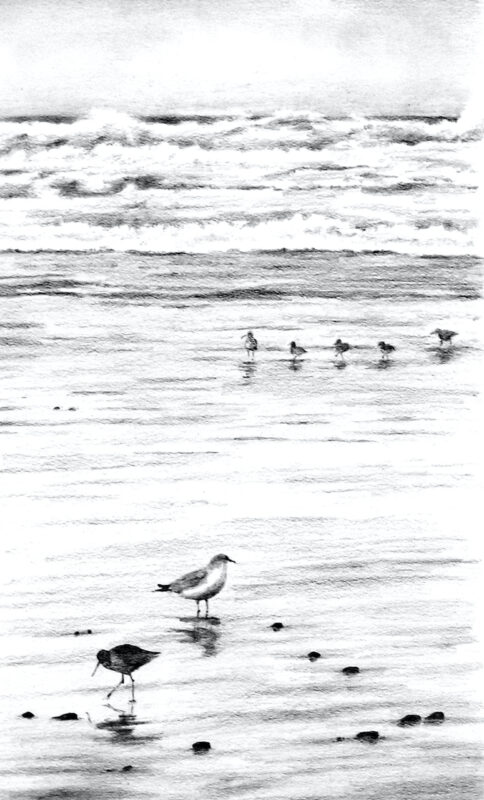
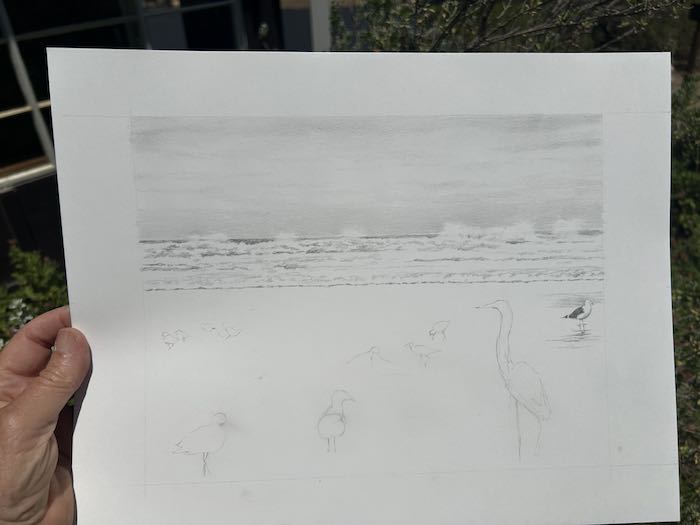
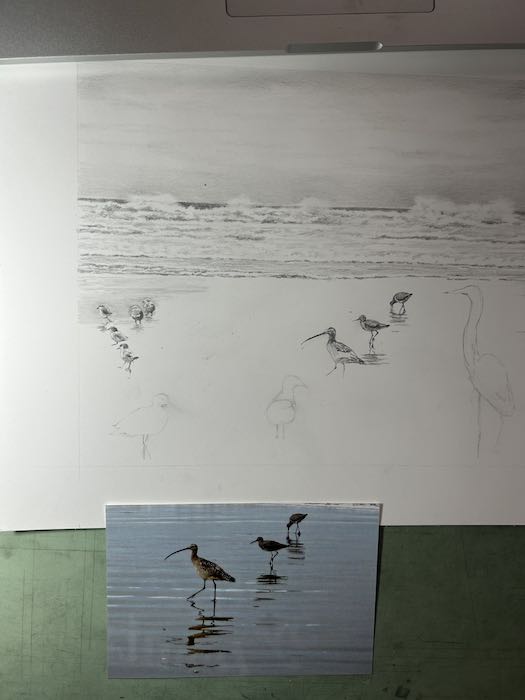
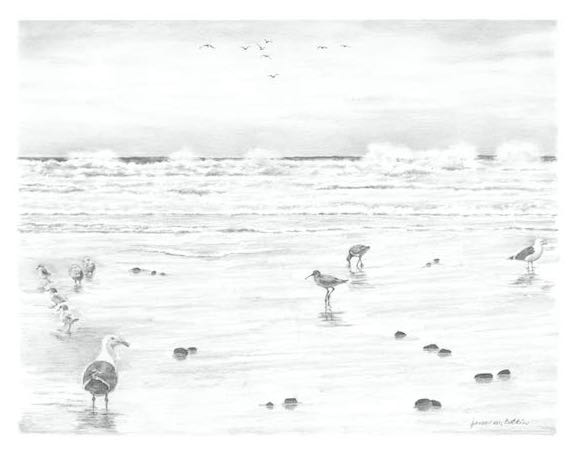
So, I changed my drawing a bit by erasing a few birds from this first version:
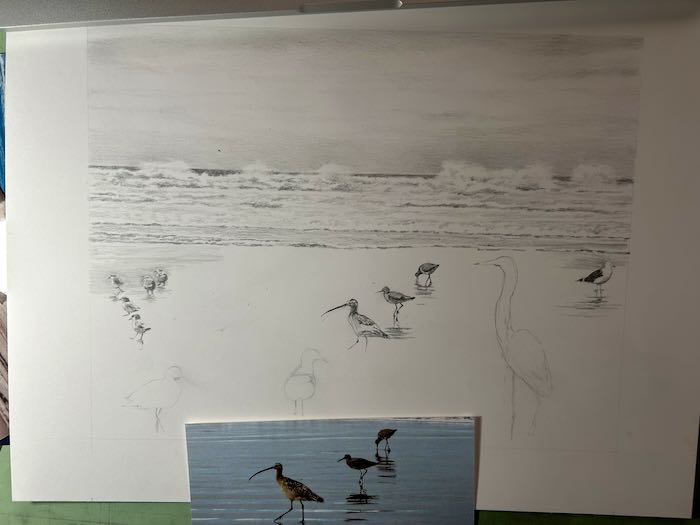
Then I darkened a few things, added some rocks, and finished the wet sand.
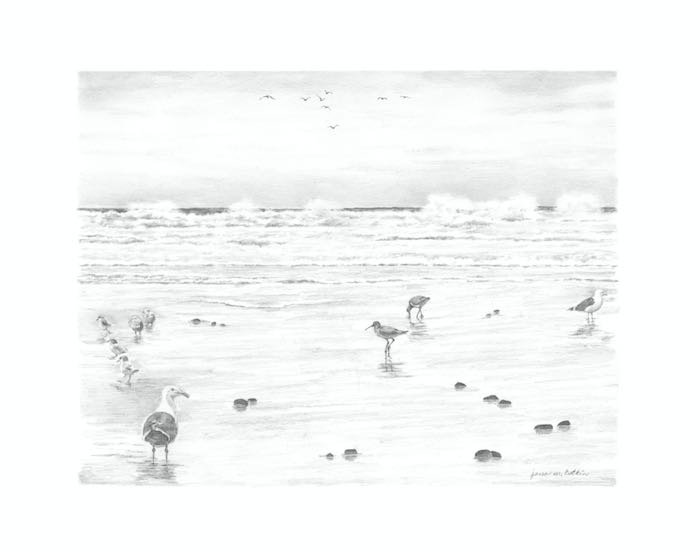
This will look excellent with the pier. Let me demonstrate here for you to admire.

I sure have a hankering to go to the beach. Or the shore. Even the sho-ah would be amazing.