Six Reasons I Loved Painting This Rose

The rose painting went to Kaweah Arts for the final hurrah before they close (reopening in March). This meant that I didn’t give it a clever name, just slapped it with “Rose”.

I loved painting this because:

  1. There were specific things to paint rather than vague landscape textures.
  2. It didn’t matter if I matched the color or the shapes precisely.
  3. It was small enough to finish quickly.
  4. The colors were different than in a landscape, my normal subject.
  5. It restored a bit of confidence in my ability to paint when I had so many incomplete pieces without answers as to how to make them look right.
  6. It is just pretty, really truly pretty.

A Nameless Rose Painting in Seven Steps

Step one: Slap some paint in the approximately correct colors in the approximately correct shapes and sizes on a 6×6 canvas: Outline, background, interior parts.

Step two: Detail the background but not too carefully because the rose is the star here. Just hint around at leafy shapes, using darks and darkers to suggest lots of greens.

Step three: Start on the rose, putting in the darkest areas of shadow that helps to shape the petals. (Pay no attention to the painting behind it on the easel, because I am not . . . I’m doing some productive procrastination here. )

Step four: work from the outermost petals inward. (Why? Because I am the boss of my painting and this makes sense to me.) You can see that I rotated the 6″ canvas so that I could visually follow the tip of my brush. This is called “drawing”; it’s how I paint details. The arrows show you the petals I worked on (so does the glare of wet paint) working from the outermost petals inward. (Why? Because I am the boss of my painting.)

Step five: Paint more petals, continuing from the outside toward the center.

Step six: work on the center with a tiny brush.

Step seven: touch up the lighter parts for more of a glow, and sign it.

There are more steps: let it dry, scan it, spray varnish so the shiny parts (with extra walnut oil to make the paint obey me) won’t stand out, give it a title.

Rose, By Any Other Name, No Thorns, Floral Perfection, Gordon’s Rose, any other ideas for this painting??

Building a Bouquet With Oil Paint

Yesterday you were left with this cliff hanger:

Beginning the detail on the roses required some intense study, because my brain says, “White rose”, but my eyes say, “There are shadows which allow you to discern the individual petals—what colors are those shadows?” (Do your eyes talk to you?)

The main bouquet photo is on my laptop, so I am able to enlarge it hugely and study the photo.

The shadows are appearing to have a yellow base in this rose. 

How about this one?

Grayer than the other but still with cream undertones, so this also will have some yellow.

Time to start drawing with my paint brush.

The roses got difficult (everything is difficult – get used to it, Central California Artist), so I started experimenting with the carnations.

It was fun to jump around – a few carnations, a little more around the roses to make them pop out, some leaves, a touch of baby’s breath.

After waiting a couple of days for the white to be drier (white dries the slowest of all the paint colors), I could see that the upper rose was too large. Using a dark background color, I trimmed the upper rose to a better size.

You probably can’t even tell the difference. I can and it looks better. I don’t have to match the photo exactly (good thing—that just isn’t possible) but I do have to make this be the most believably beautiful bouquet ever.

Fifty Years

Mr. and Mrs. Customer had their fiftieth wedding anniversary. Mr. Customer sent Mrs. Customer a bouquet of 50 red carnations with 2 white roses. Mrs. Customer wanted it to last forever, so they asked me to paint it for them.

They emailed me photos, and then I experimented with various methods of cropping. 

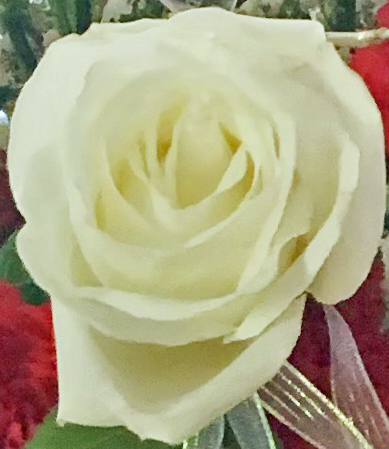
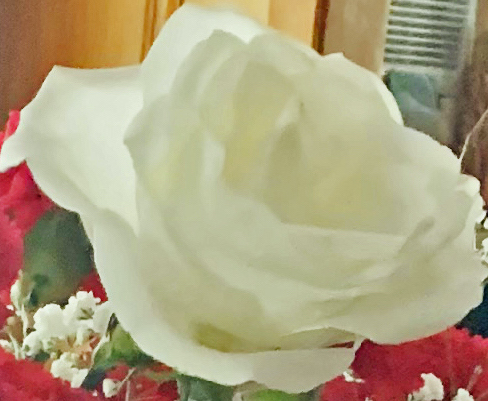
I realized that the color in the photos wasn’t telling the whole story so I asked if I could go photograph the flowers in person. I took along some paint samples in order to match the right reds, my camera for a few close-ups (although the roses were drooping), and my computer so they could see the ways I had cropped. I also asked questions to learn what parts were important to them: the background realistic like their home interior or just whatever shows off the flowers? the vase? the coaster the vase is sitting on? as many flowers as I can cram into the painting?

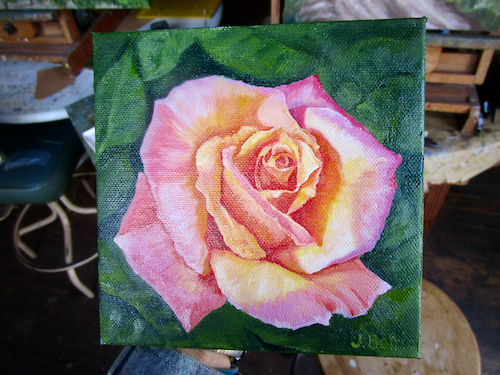
This is going to be complicated and slow, because I will be working from multiple photos. I don’t want it to look like just any bouquet of flowers—it needs to be as special as these people. So, it will take time and thought, enormous detail, and a willingness to make adjustments that enhance the painting rather than slavishly copying a photo.

Enough jibber-jabber.

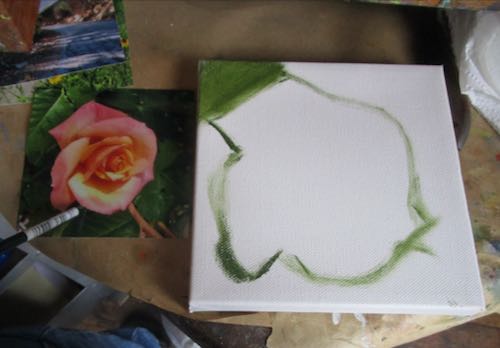
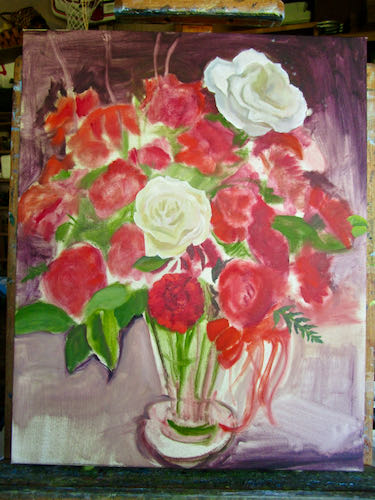
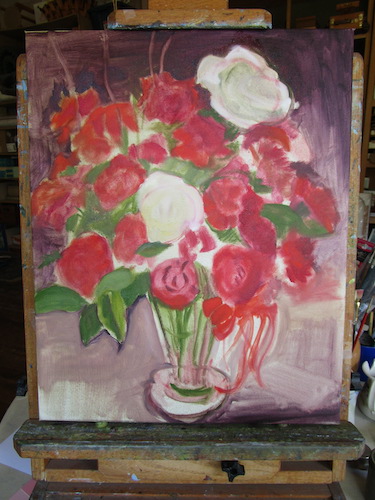
Start upside down. Make some blobs, get them to roughly correspond to the arrangement in the photos because a professional flower arranger knew what she was doing (and I don’t).

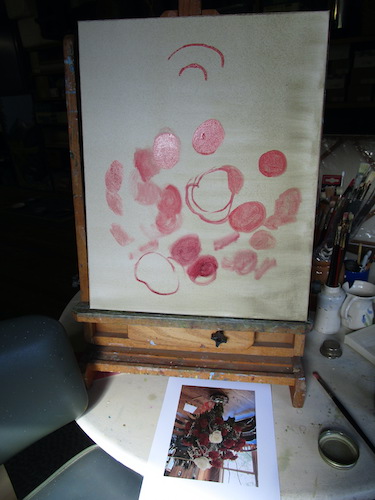
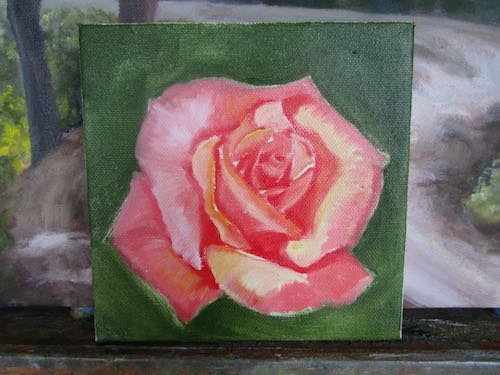
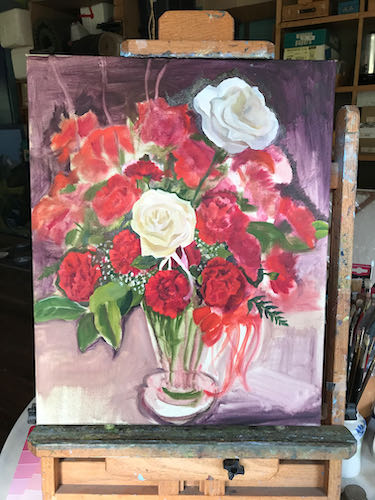
Right side up, add some background, resize things to better fill the canvas, correct the vase shape, include the ribbon.

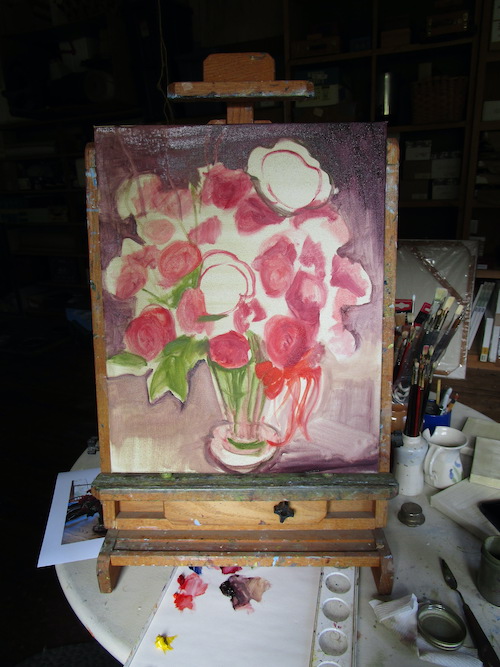
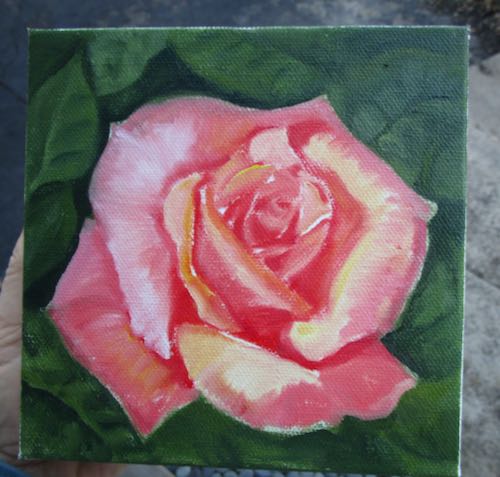
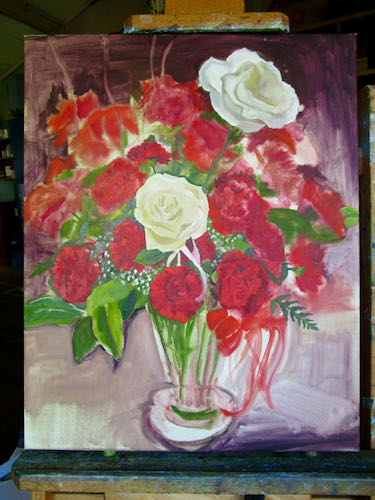
Lift out places for curly willow, begin shaping the outer edges, cover the surface, start indicating some darks and lights within the carnations.

This is a little bit too hard for me, but not as hard as drawing a 1-3/4″ face from a little photo. I had to take a break and go pull some weeds.

Mr. Customer said they’d like it sometime before their second fiftieth. I can accommodate that request.