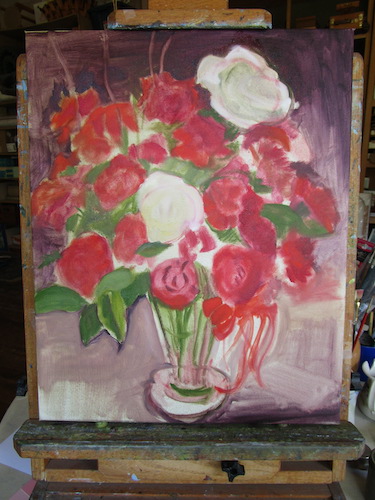
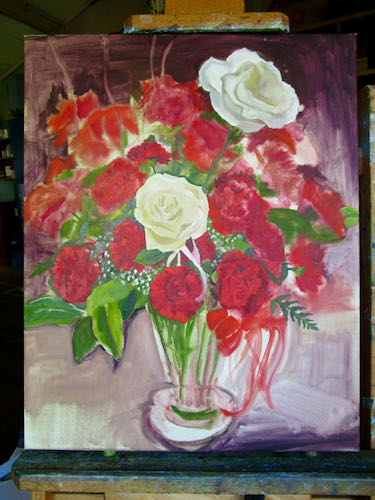
Yesterday you were left with this cliff hanger:
Beginning the detail on the roses required some intense study, because my brain says, “White rose”, but my eyes say, “There are shadows which allow you to discern the individual petals—what colors are those shadows?” (Do your eyes talk to you?)
The main bouquet photo is on my laptop, so I am able to enlarge it hugely and study the photo.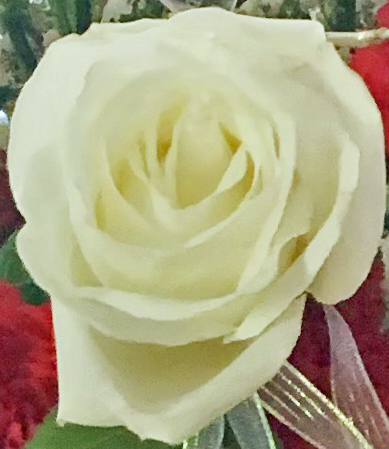
The shadows are appearing to have a yellow base in this rose.
How about this one?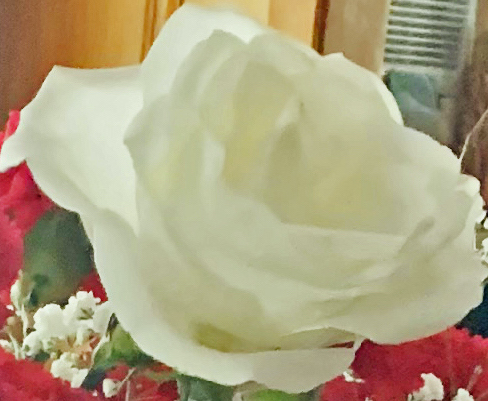
Grayer than the other but still with cream undertones, so this also will have some yellow.
Time to start drawing with my paint brush.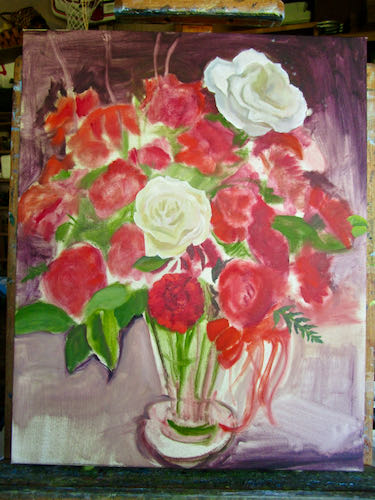
The roses got difficult (everything is difficult – get used to it, Central California Artist), so I started experimenting with the carnations.

It was fun to jump around – a few carnations, a little more around the roses to make them pop out, some leaves, a touch of baby’s breath.
After waiting a couple of days for the white to be drier (white dries the slowest of all the paint colors), I could see that the upper rose was too large. Using a dark background color, I trimmed the upper rose to a better size.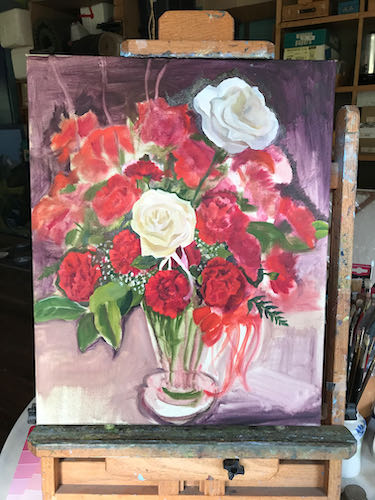
You probably can’t even tell the difference. I can and it looks better. I don’t have to match the photo exactly (good thing—that just isn’t possible) but I do have to make this be the most believably beautiful bouquet ever.