Just kidding. I’m not raising a barn, just drawing it. Well, maybe I am raising it out of the vast whiteness of the paper.
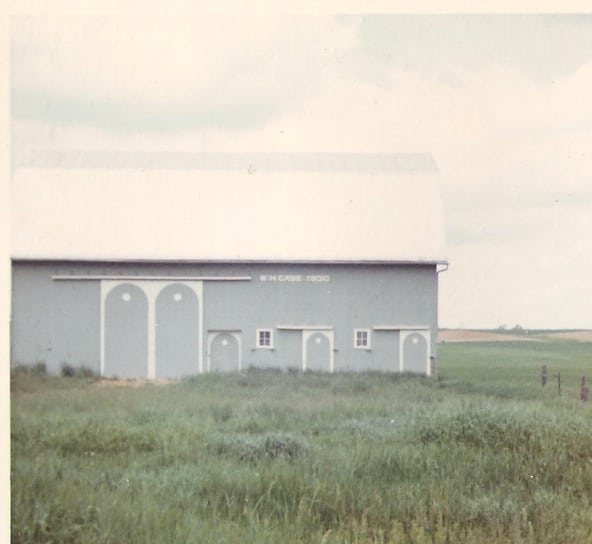
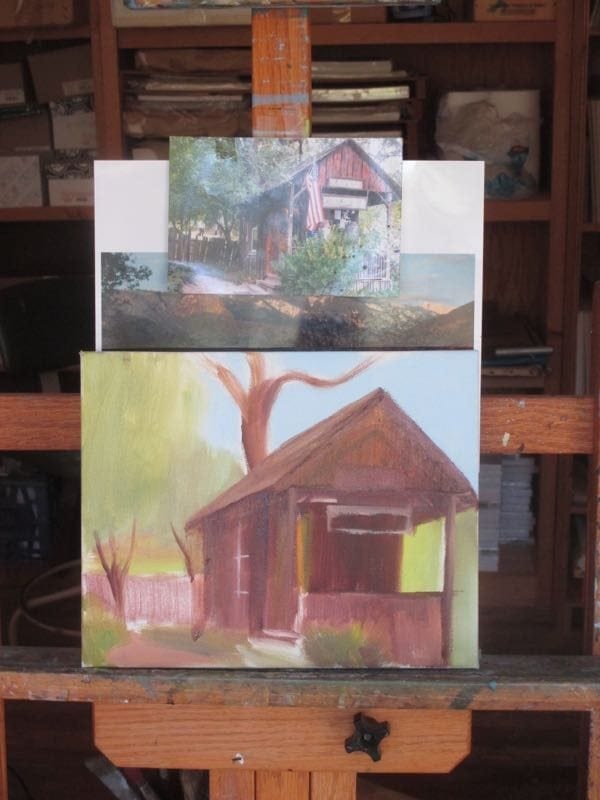
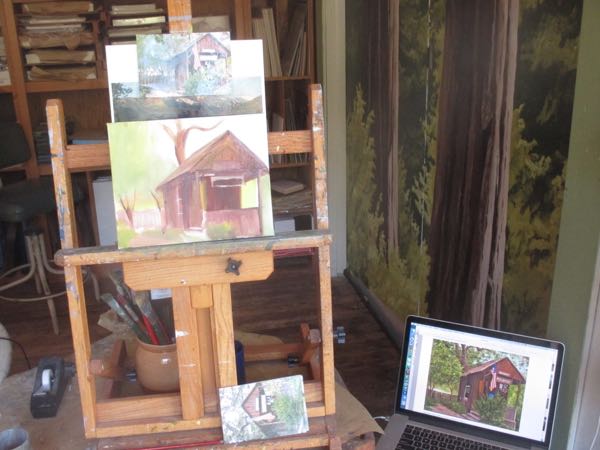
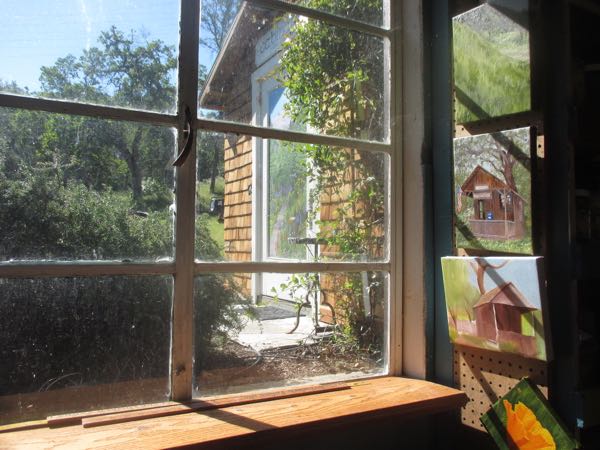
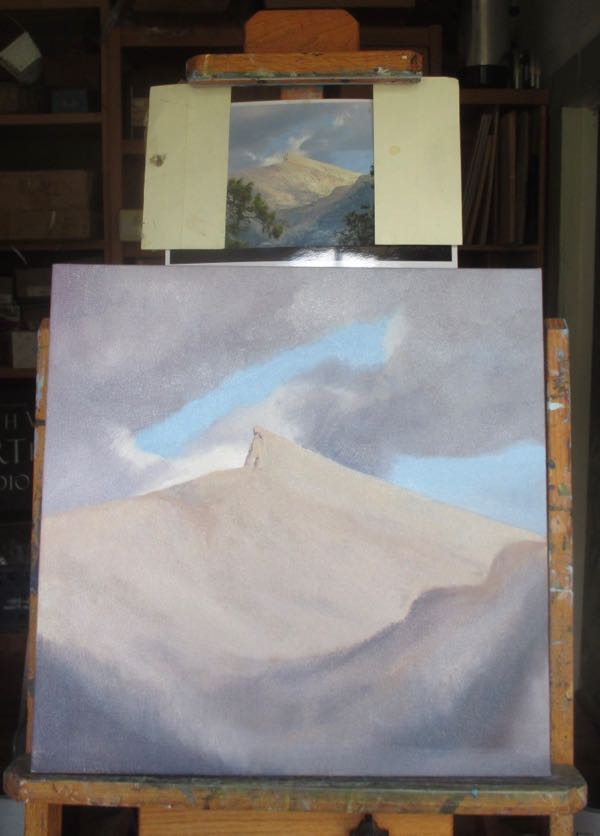
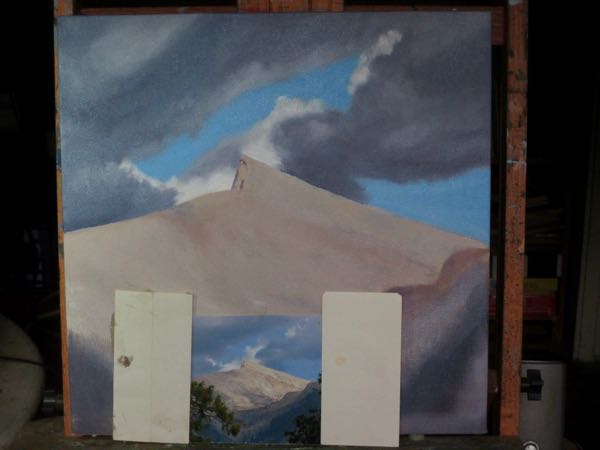
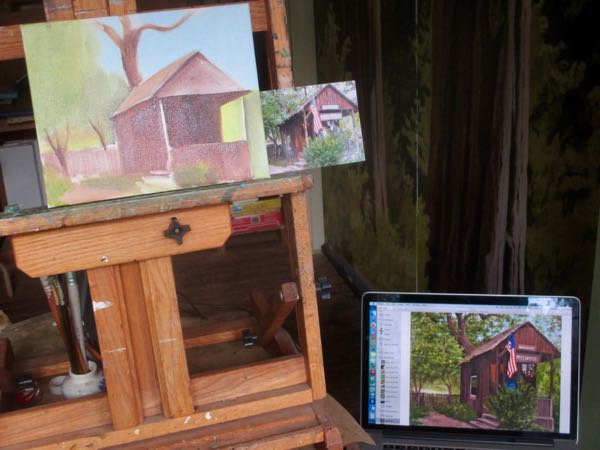
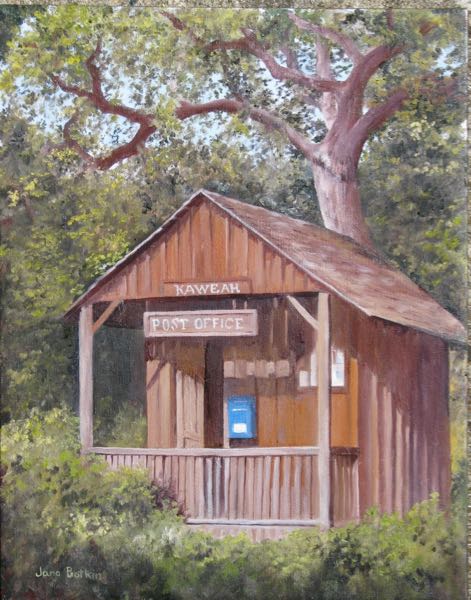
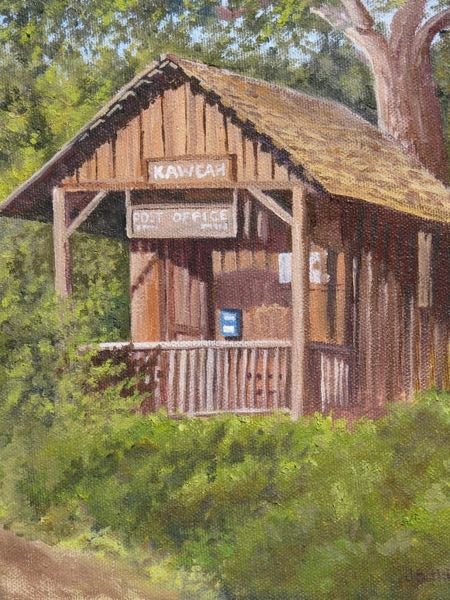
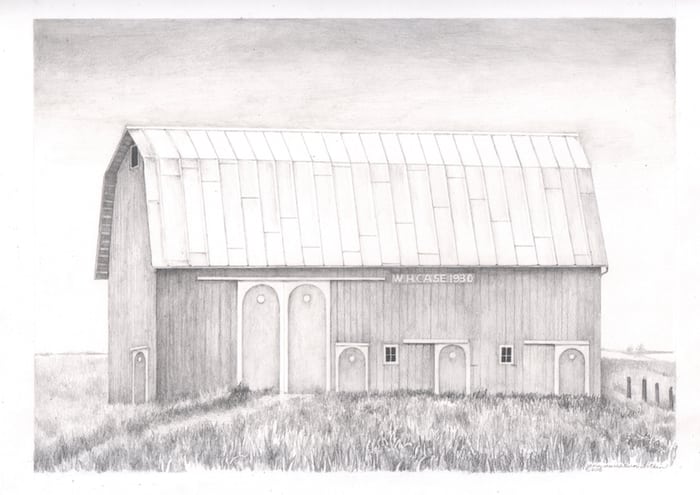
I received these 2 photos along with many instructions. The top photo is how the barn looks now; the lower one is how it looked when the customer was a child and what he is wanting me to draw.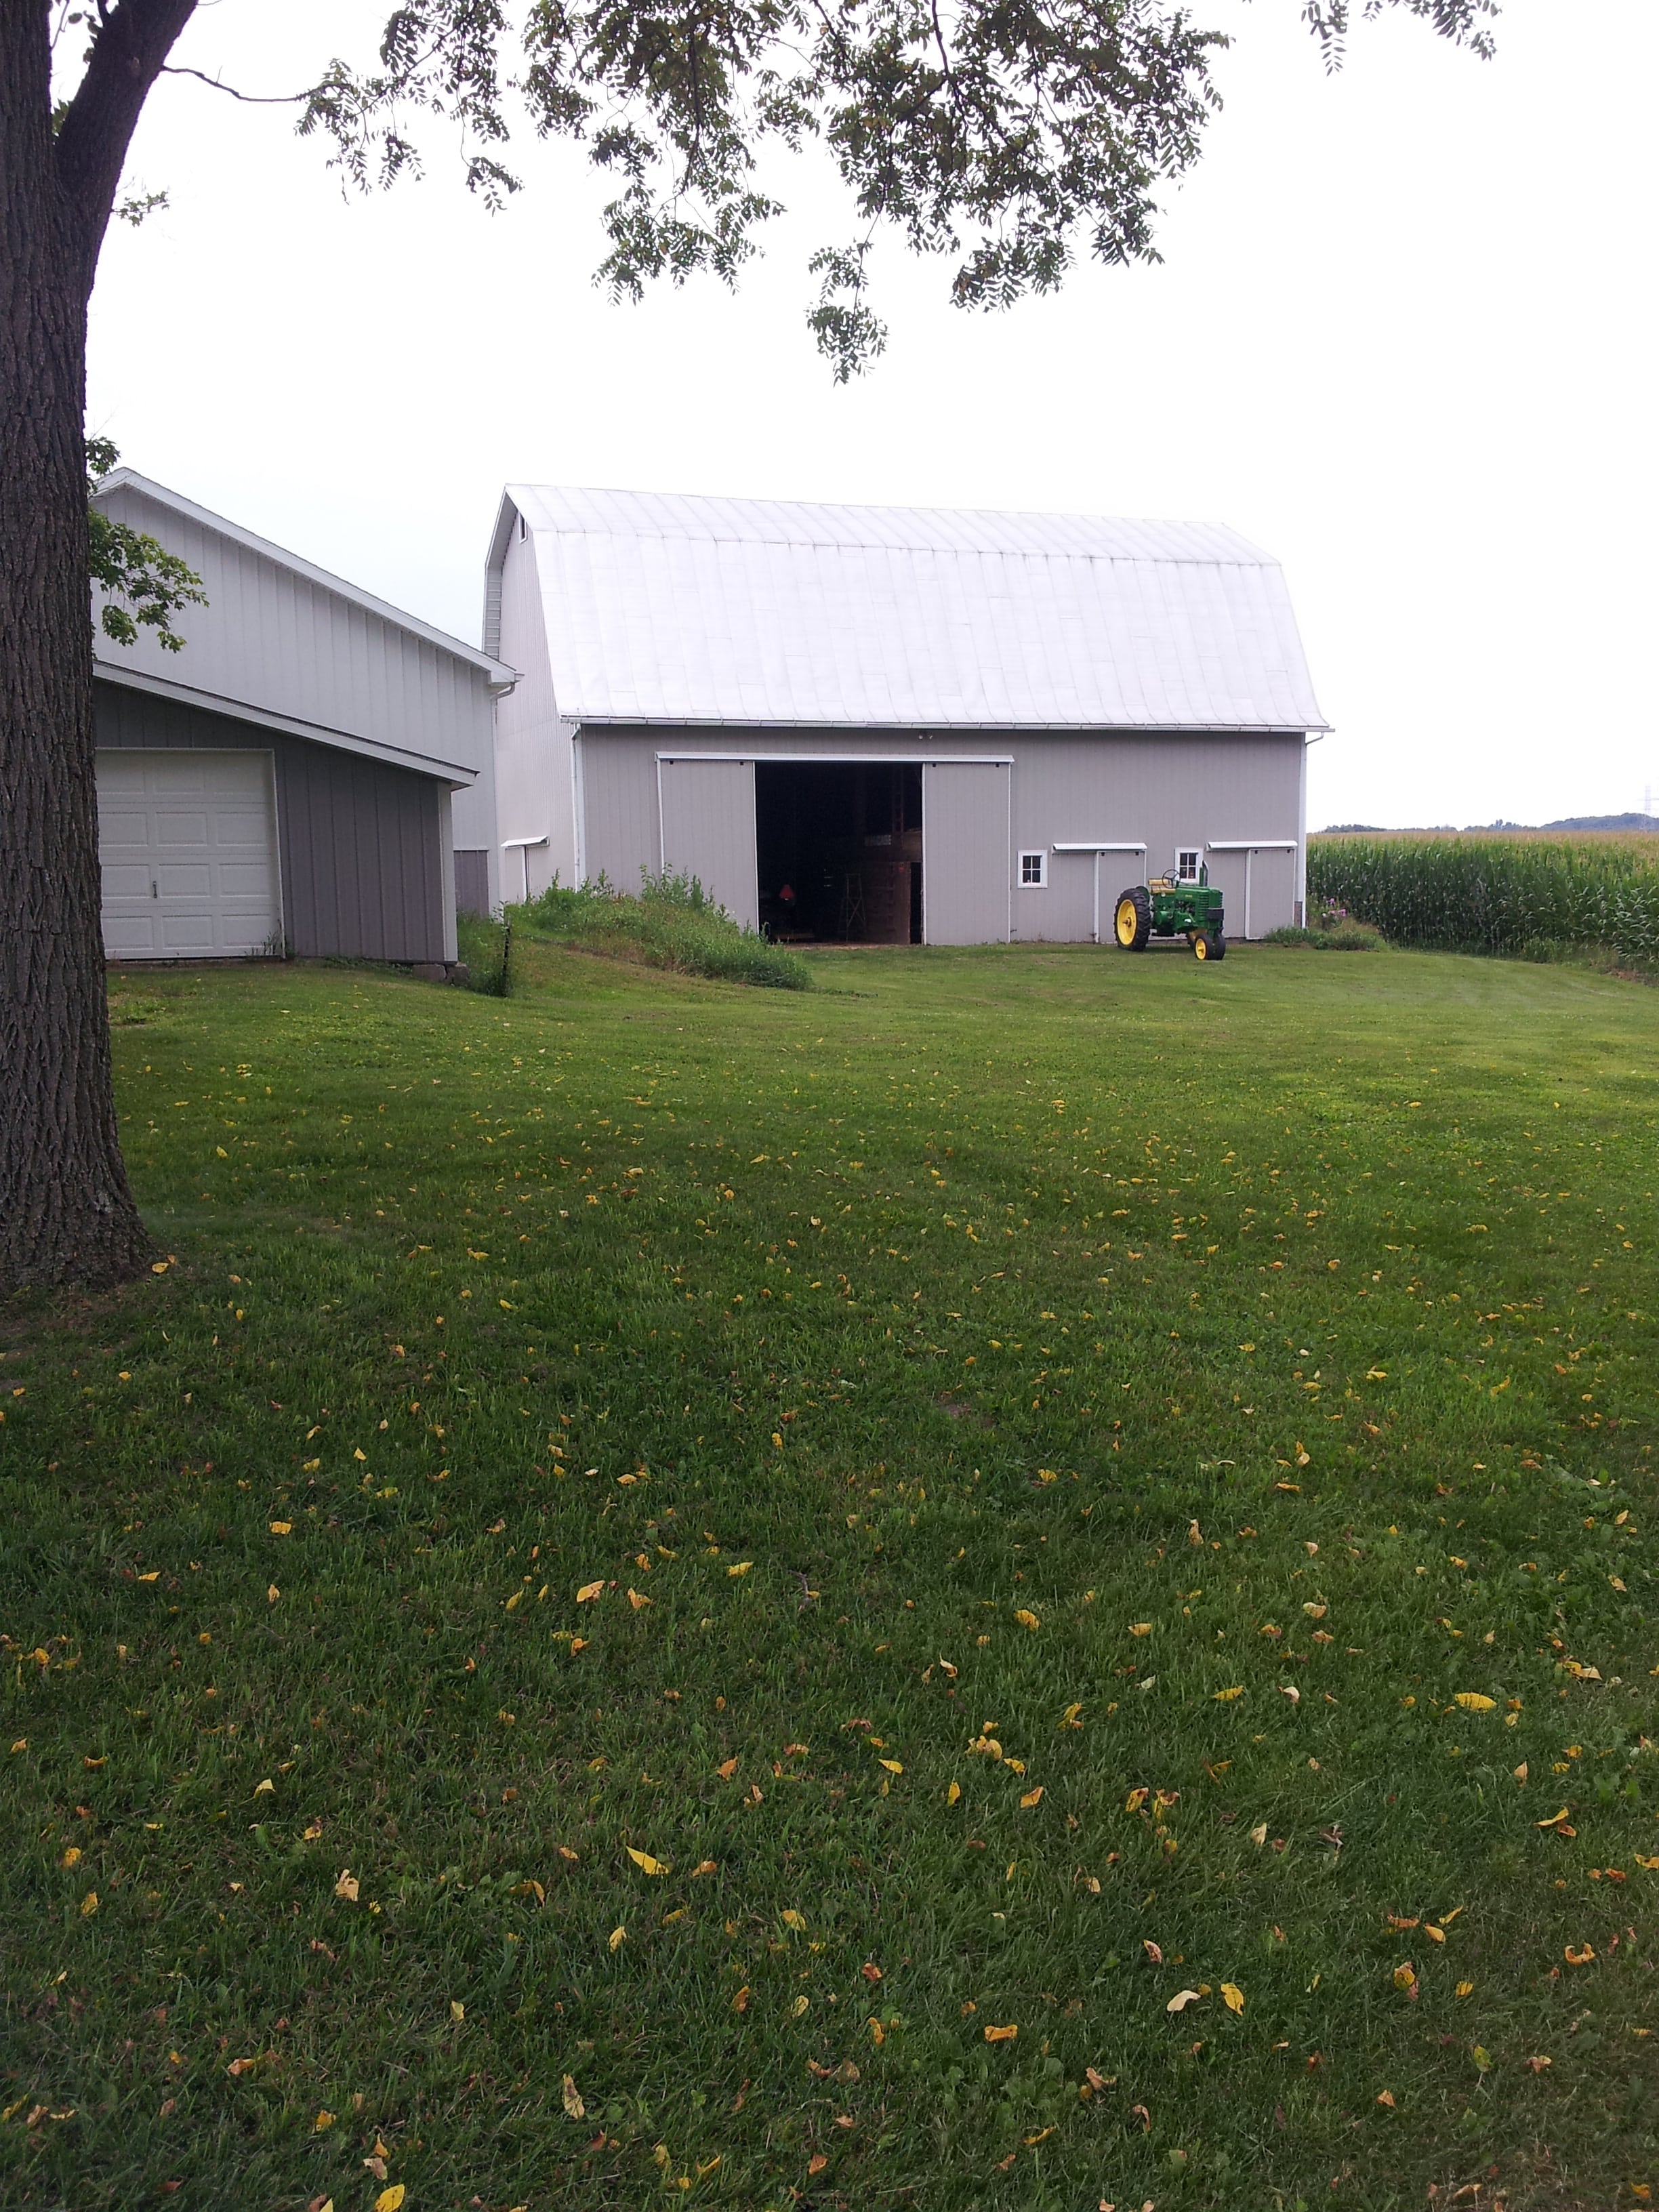
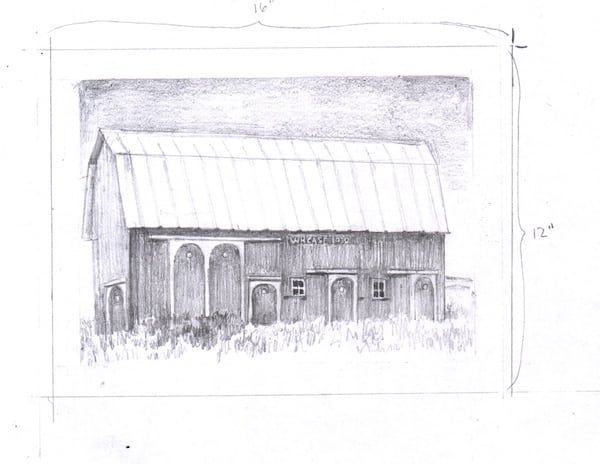
He also wanted me to match the size of the barn in this print, drawn (or is that ink with a watercolor wash or something else I don’t recognize?) by one of my art heroes.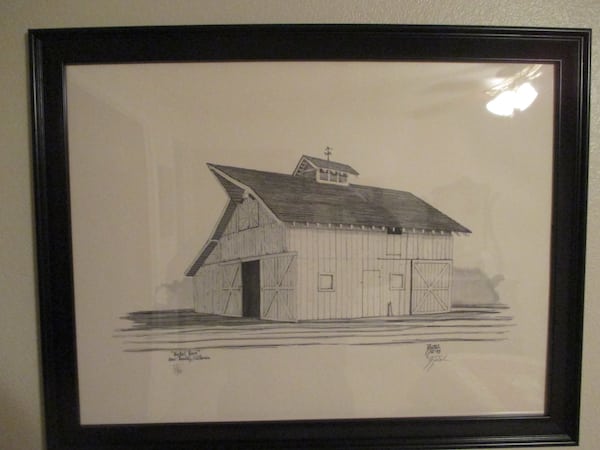
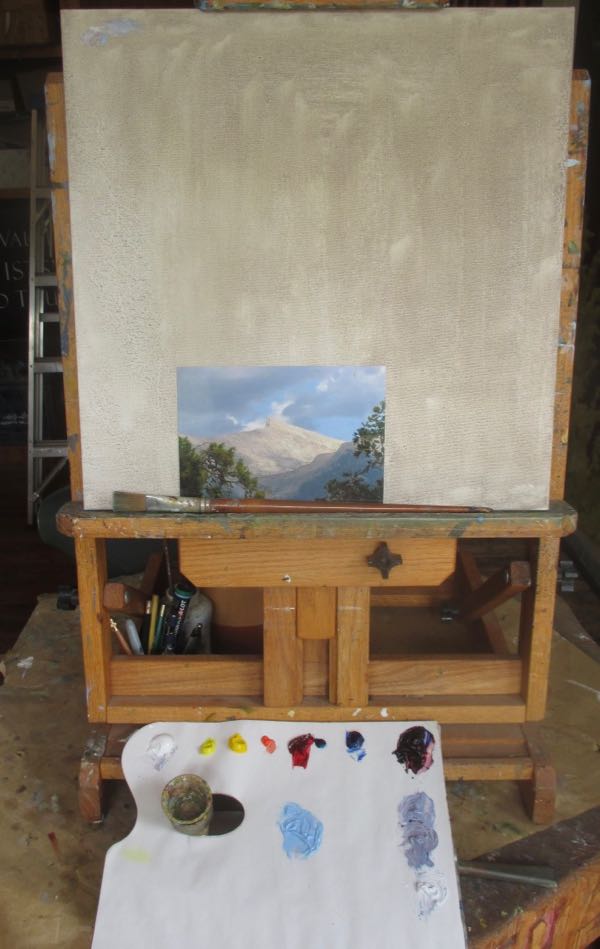
Part of the business of art is communicating thoroughly and clearly with customers and potential customers. I realized that this job would require a sketch and approval of the sketch before I began, because there were lots of places for misunderstanding. I sketched it roughly 2″ x 3″, to match the proportions of the size the customer requested (measured in picas, so just trust me that it is proportionally correct).
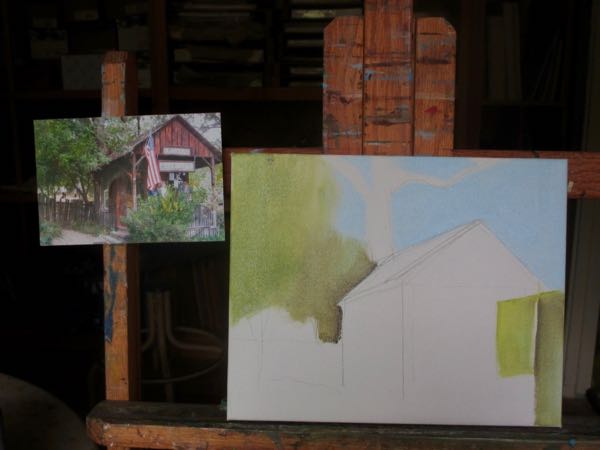
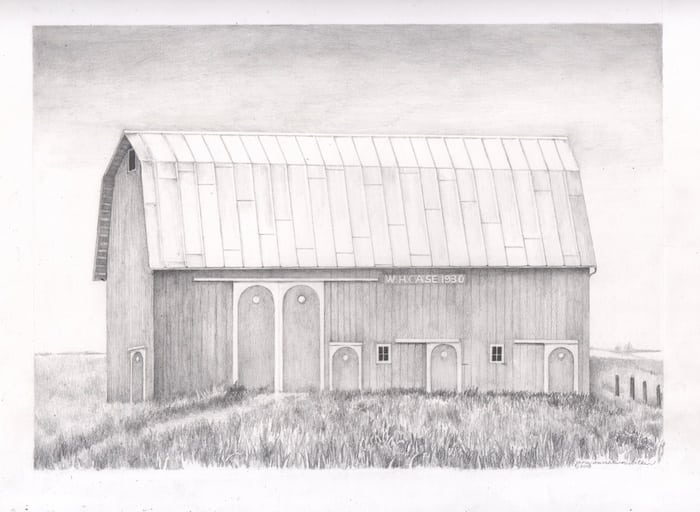
Got it in one attempt! Sketch approved, drawing begun. The photo isn’t great, nor is the printer. I am working primarily from the sketch and the notes.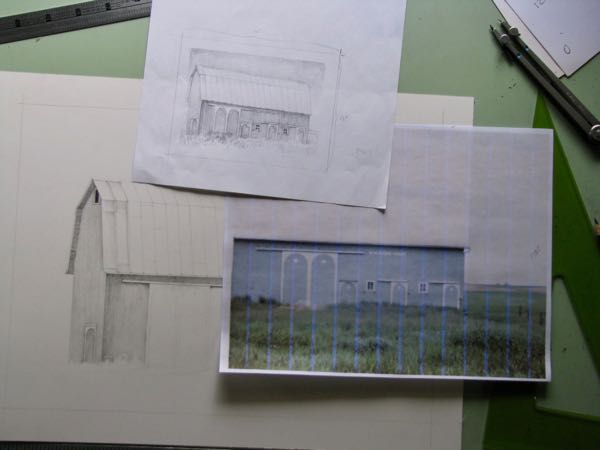
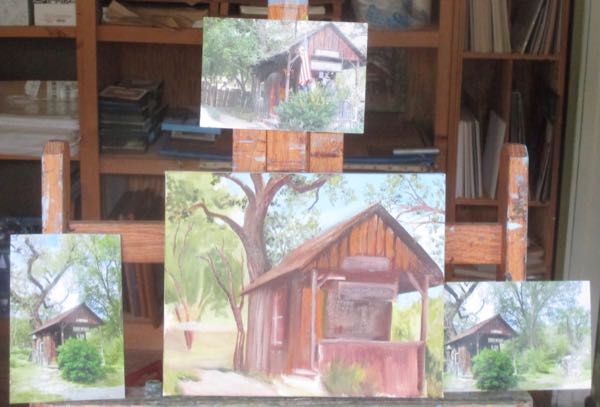
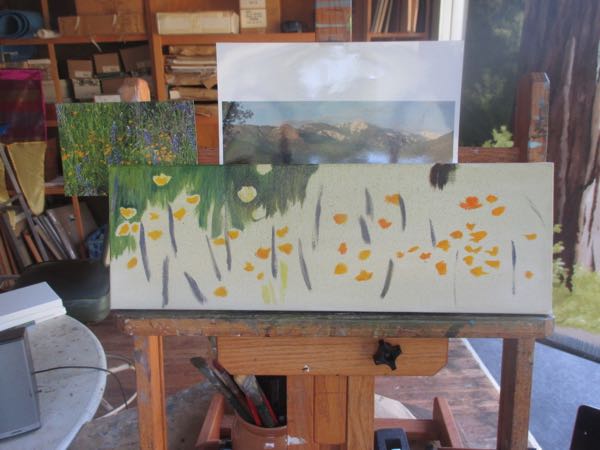
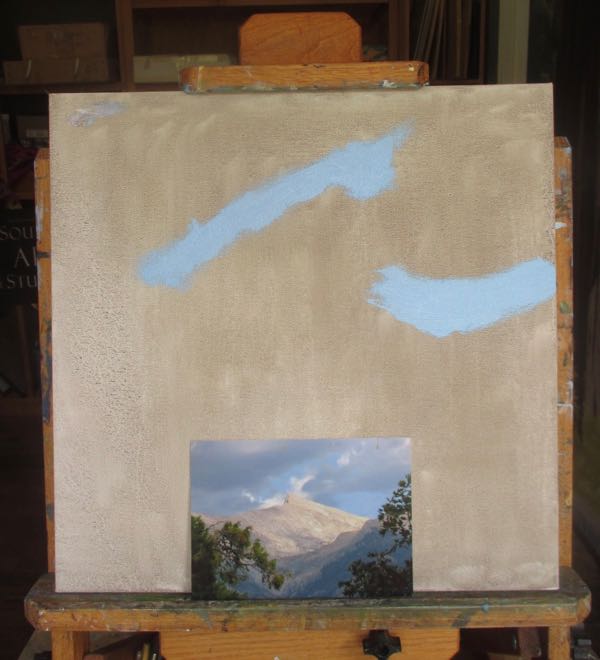
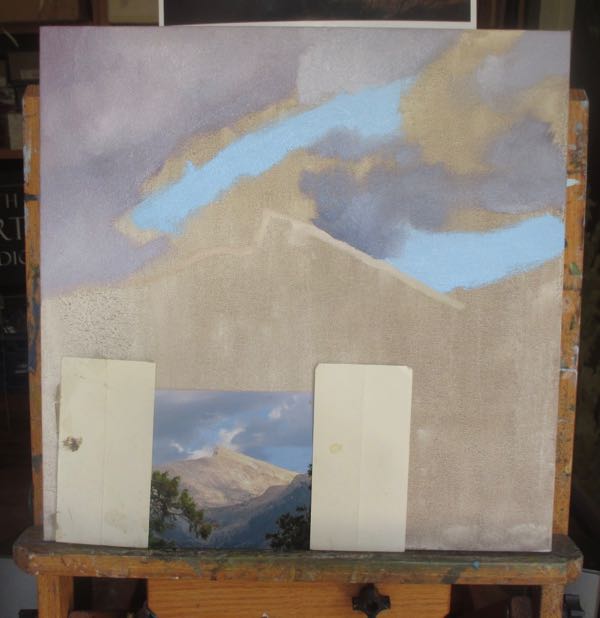
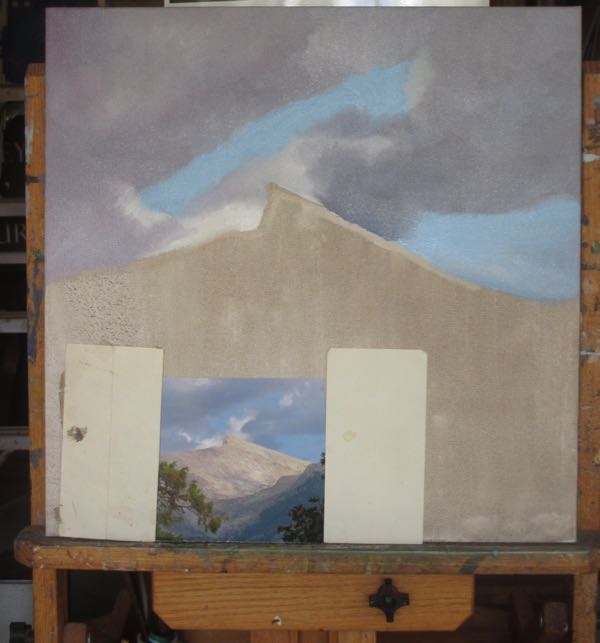
A few hours later, this is where I was: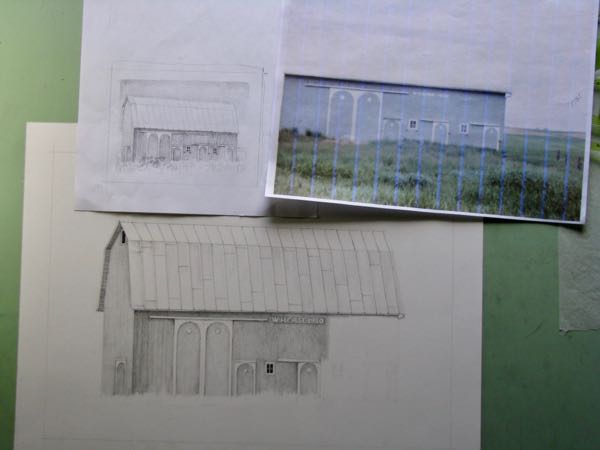
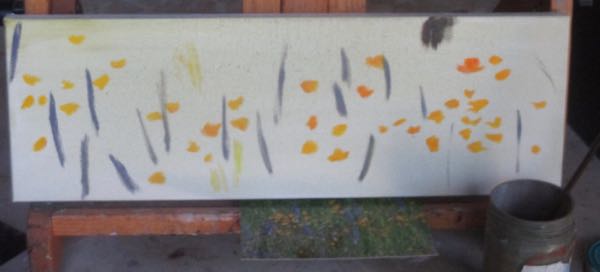
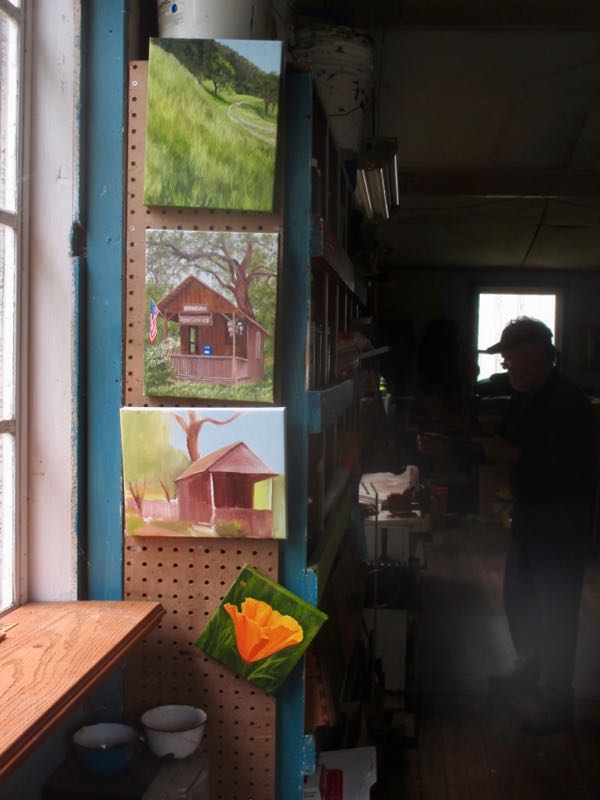
I told the customer it would be 2-3 weeks, but commissions always jump to the front of the queue. (2 poppy paintings need a final layer, there are 4 paintings in Birdland, and I still need a few more paintings of the most popular Mineral King scene because 3 more sold last week. Not complaining, just explaining.)
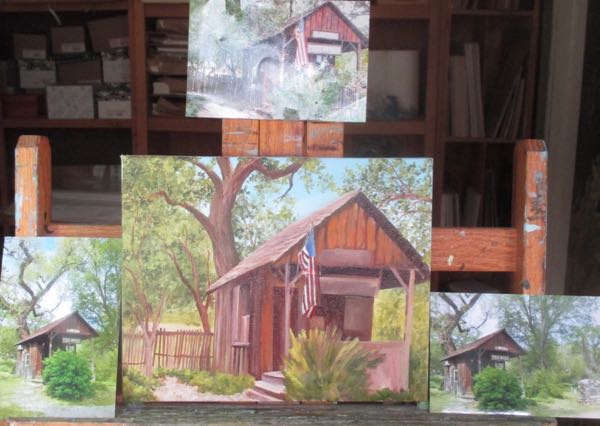


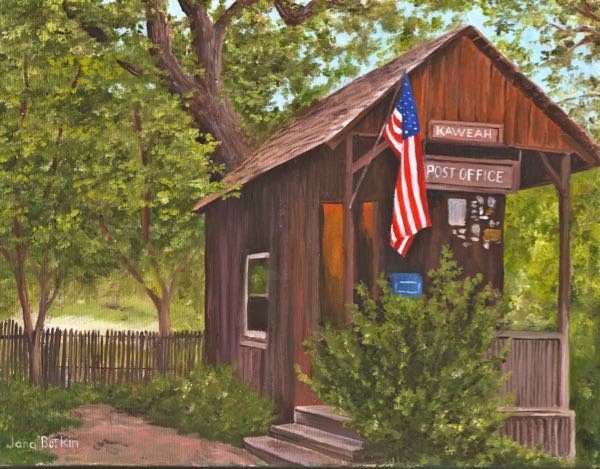


 The next step is to do the prep in Photoshop Elements so it can be reproduced. Can you tell the difference?
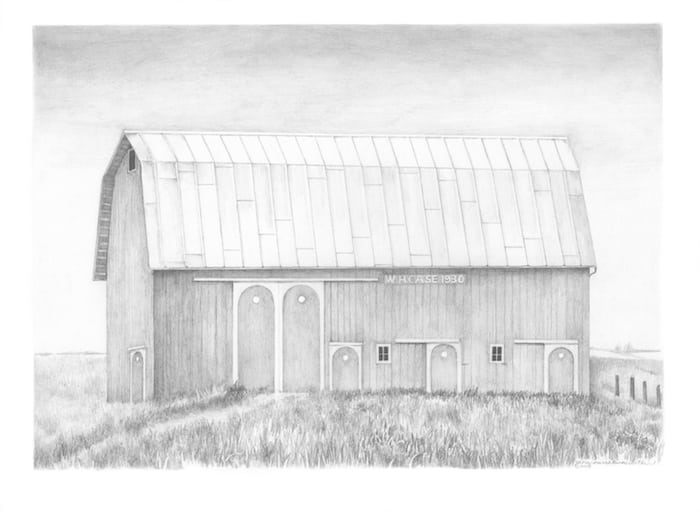
 (What did people do before The Google came along to answer all our questions? They didn’t say yes to as many odd jobs.)