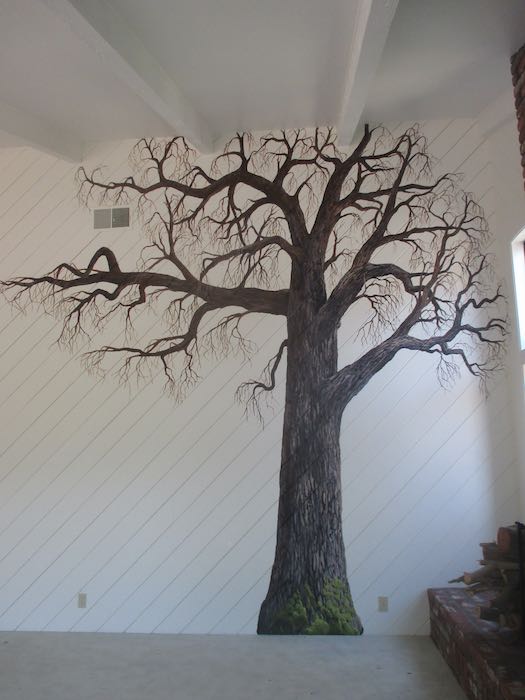
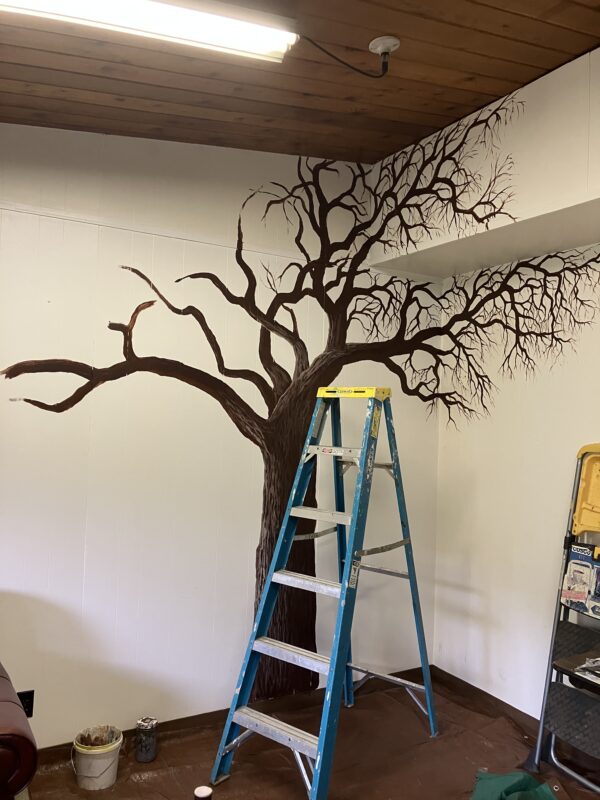
As I work on the tree, it feels as if I am making no progress. I finally figured out why: it is because I am painting the same stuff over and over and over. Branch, twig, twig, twig, branch, twig, twig, twig, twig…
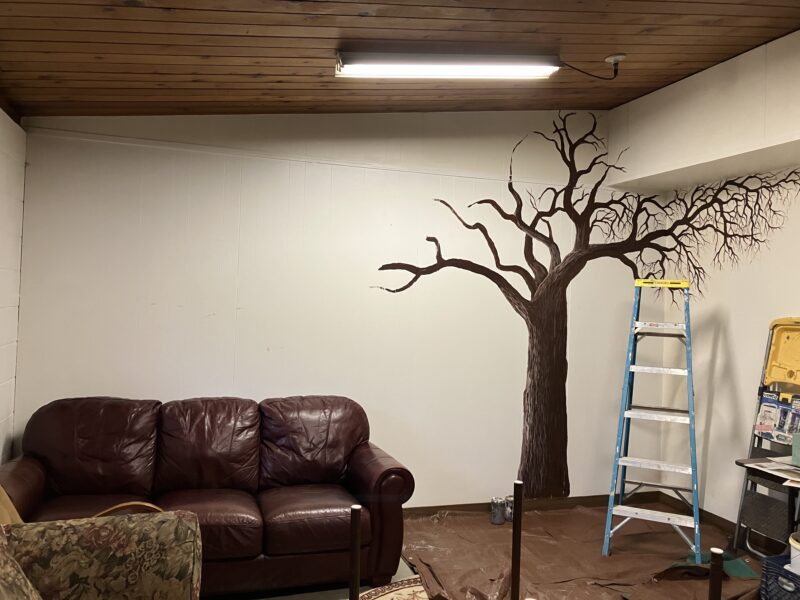
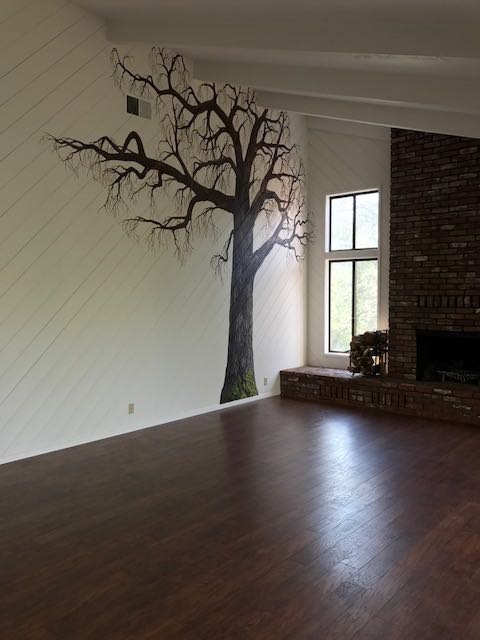
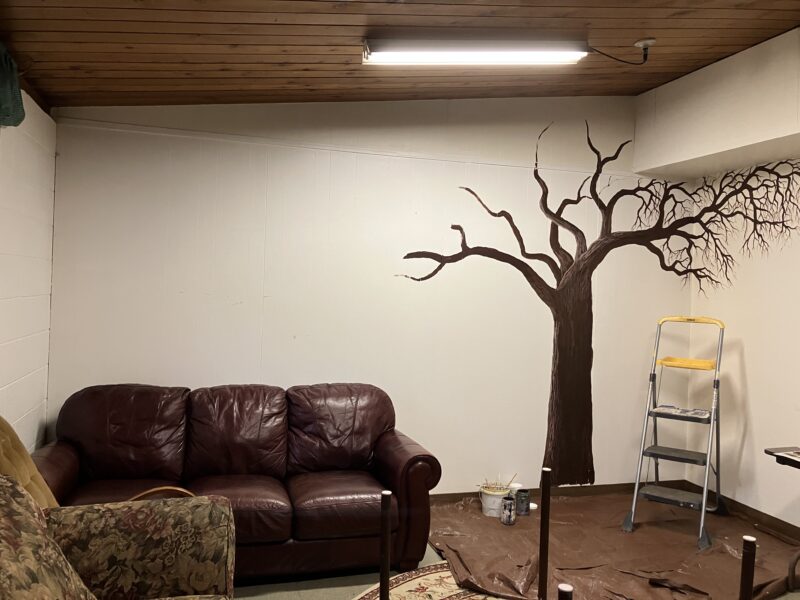
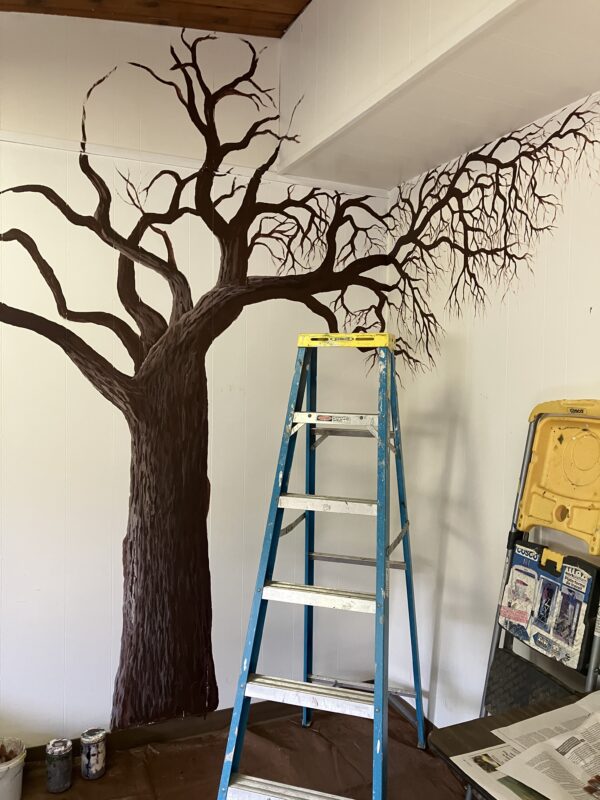
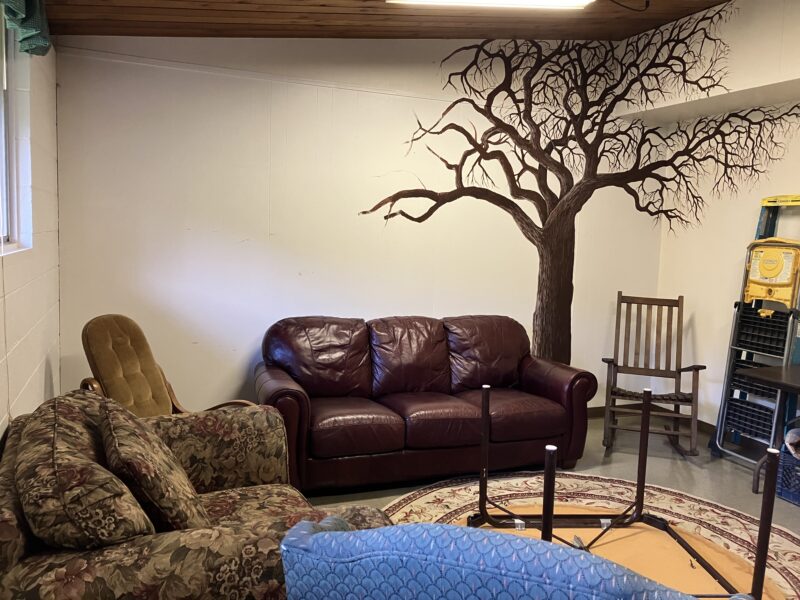
It also looks insignificant when seen with the entire wall, so the photos from Wednesday’s painting session are mostly focusing on the tree.
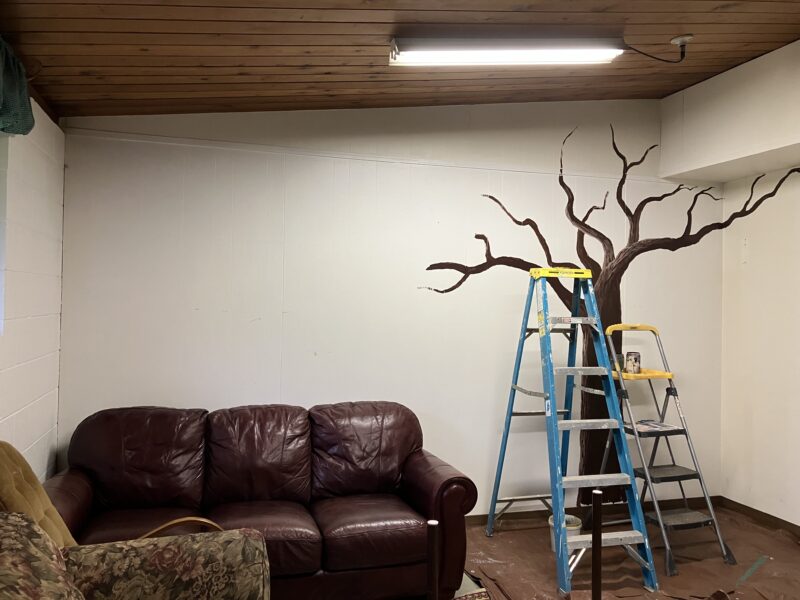
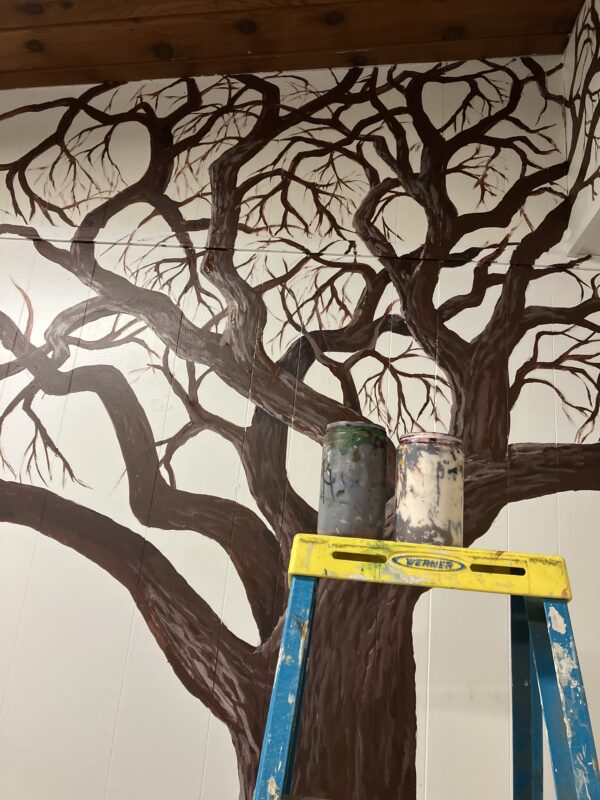
This is my view from the ladder.
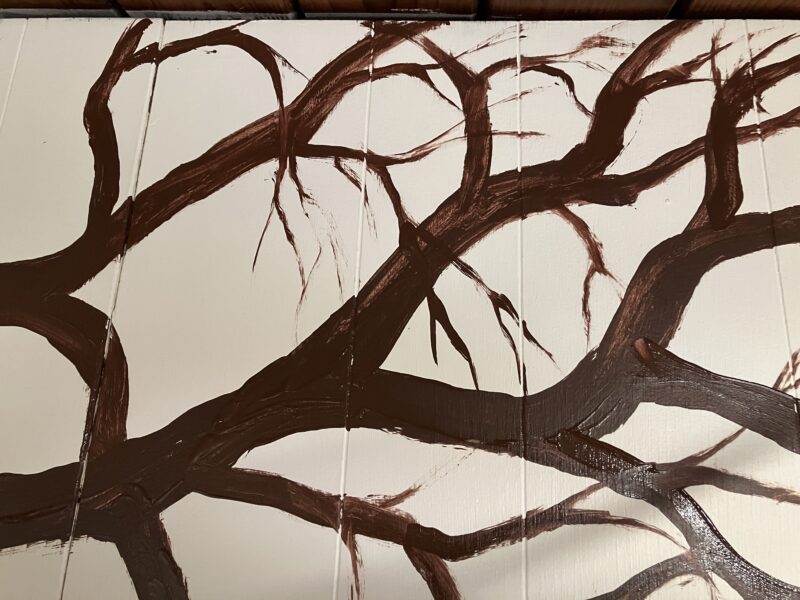

I climb down the ladder, stand and stare, decide what needs to be thickened, tapered off, added, filled in. . . Then I climb up the ladder and try to recognize the spots that I decided to fix. Then when I can’t recognize them because it is too close and looks different, I climb back down the ladder to try again to memorize the particular spots, then climb back up the ladder to make the additions and changes, before I see something different to add, which would cause me to lose my place again.
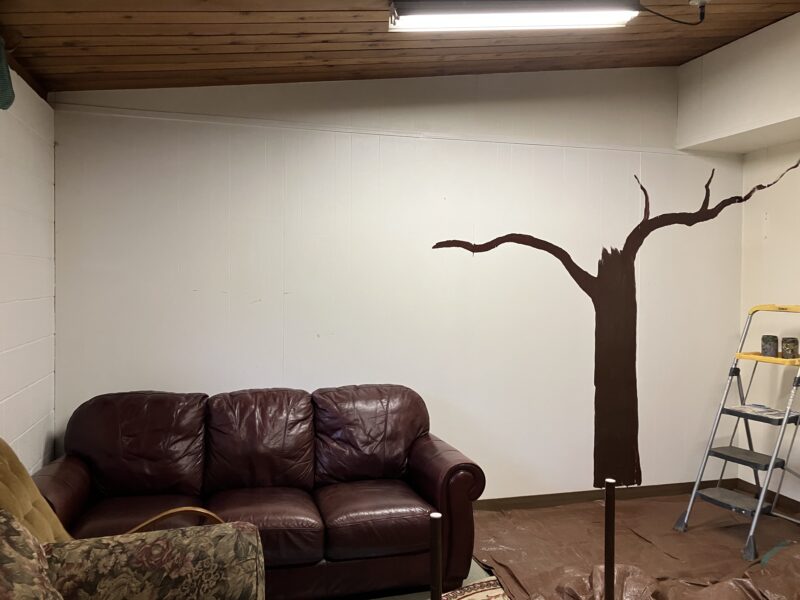
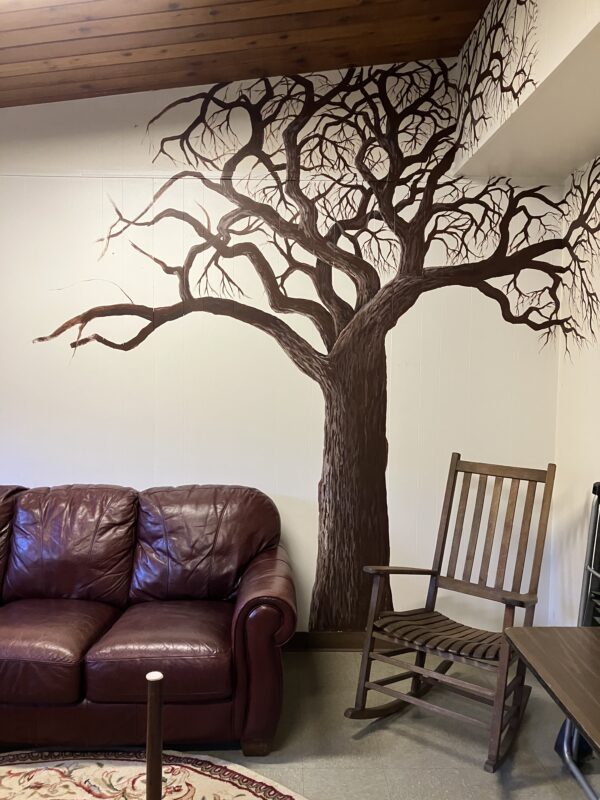
When it got too confusing, I got my darker and lighter browns out so that I could create a bit of bark and a sense of branches overlapping.
After about 5-1/2 hours of this, I was hungry, cold, and confused. Hungry because breakfast was a long time ago, cold because I chose to not use the heater, and confused because it all looks alike. Fret not, I did take a couple of breaks because there were other people working at church on Wednesday. I warmed up in the office, got sidetracked with some sorting and tossing with the secretary, learned some fun things about the pastor, tried some fancy coffee with the janitress. (Woman janitor=janitress?)
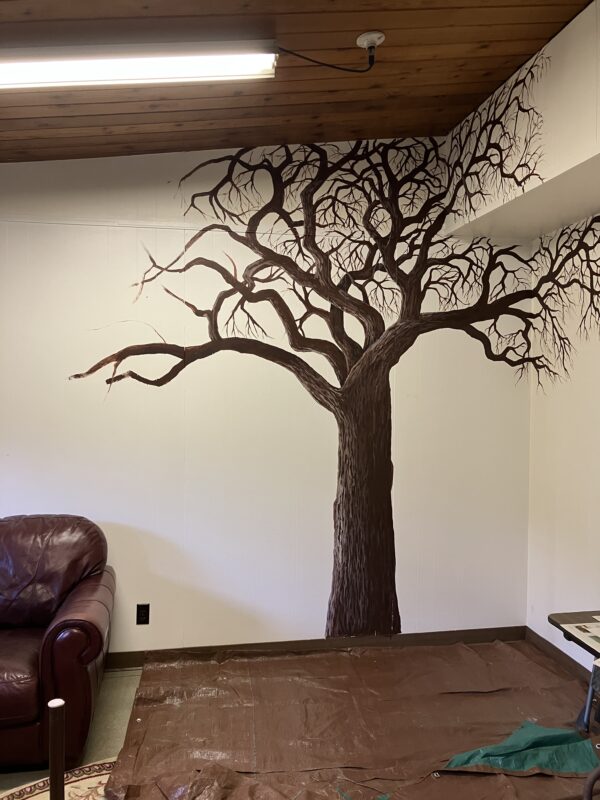
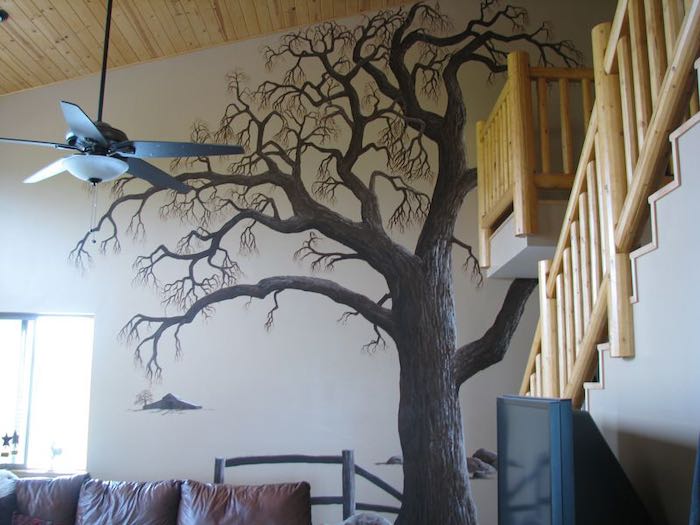
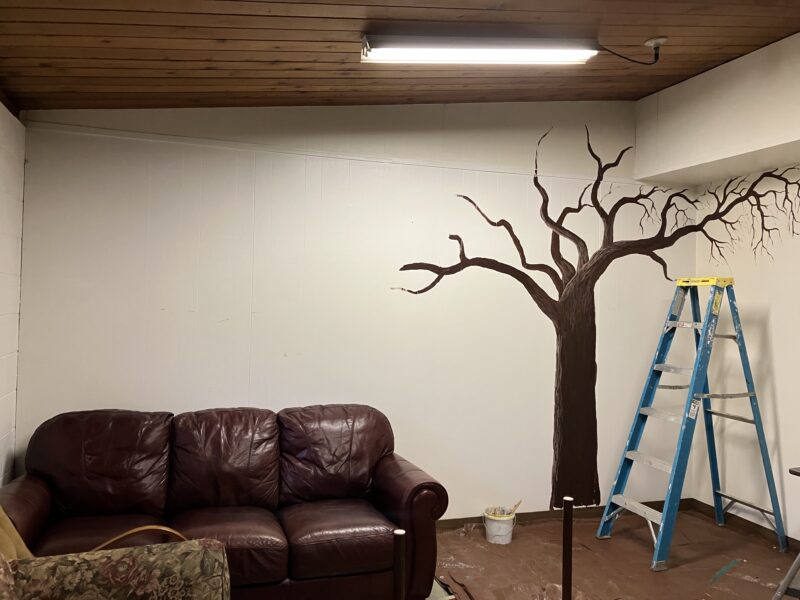
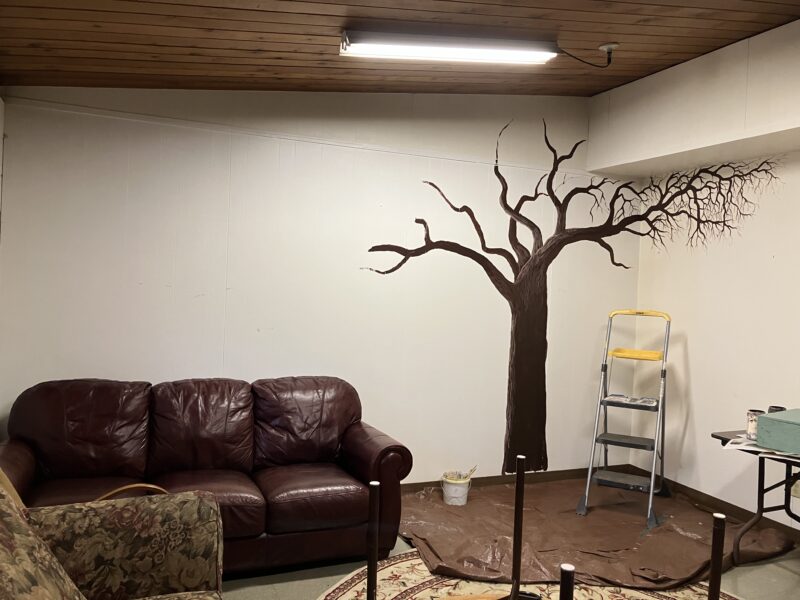
I haven’t decided how far to the left to grow the branches, so I put the furniture back in place to see how it all looks together, hoping the answer will present itself on the next day of painting.
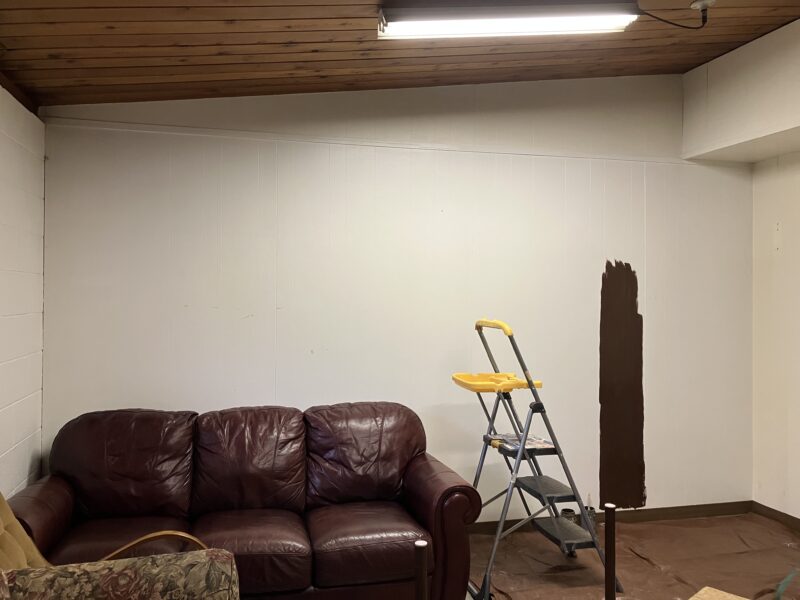
Pay no attention to the ladders in the corner or the inverted table on the rug. It’s there to flatten out the folds. When we began discussing how to make the room more inviting, my cohort mentioned that she just got new living room furniture and then I got all excited to grow an indoor tree. Thus, this project was born.
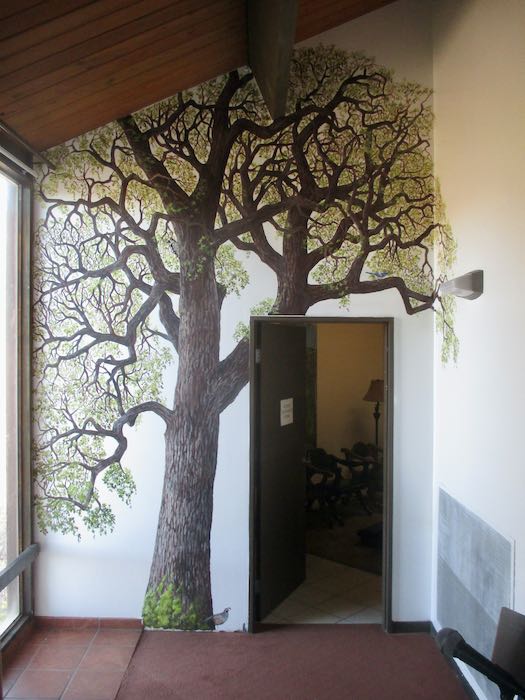
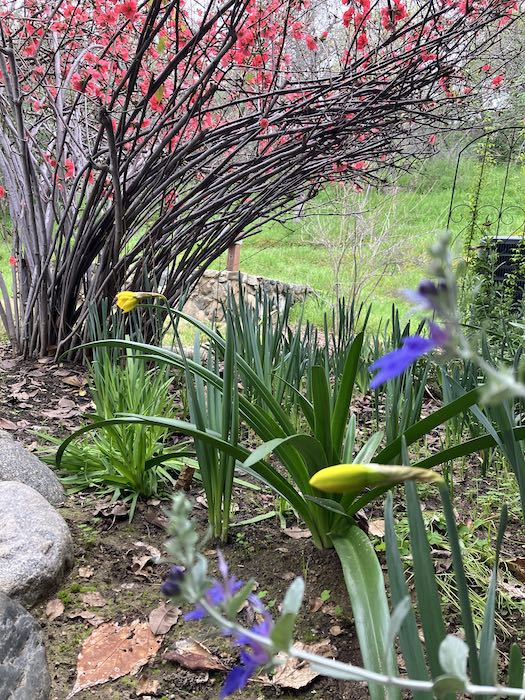
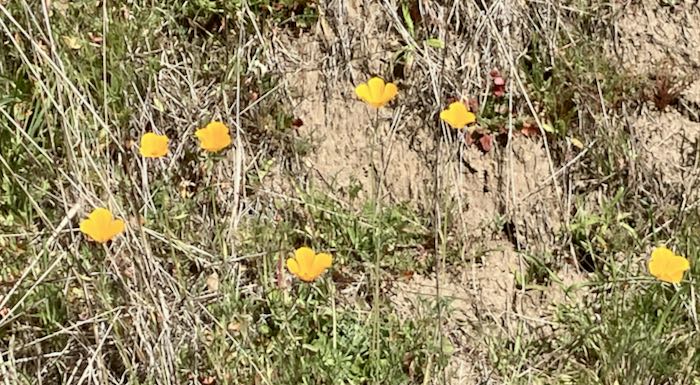
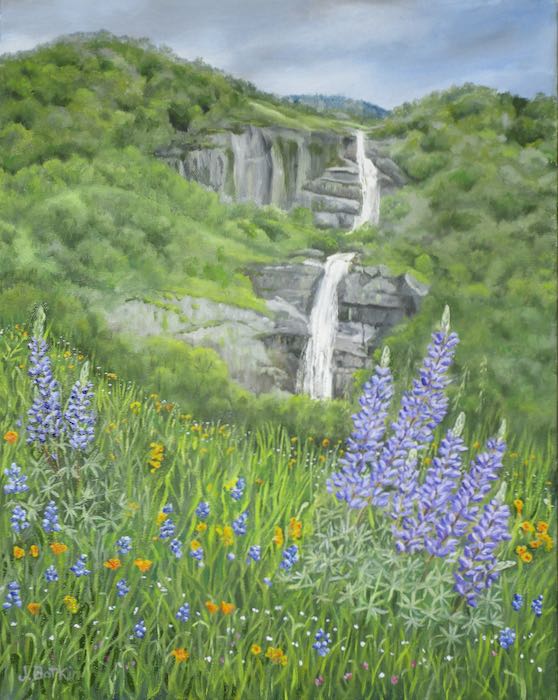
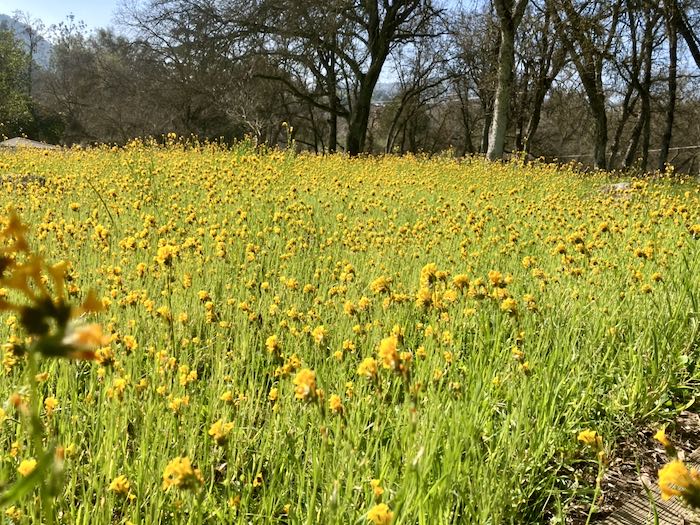
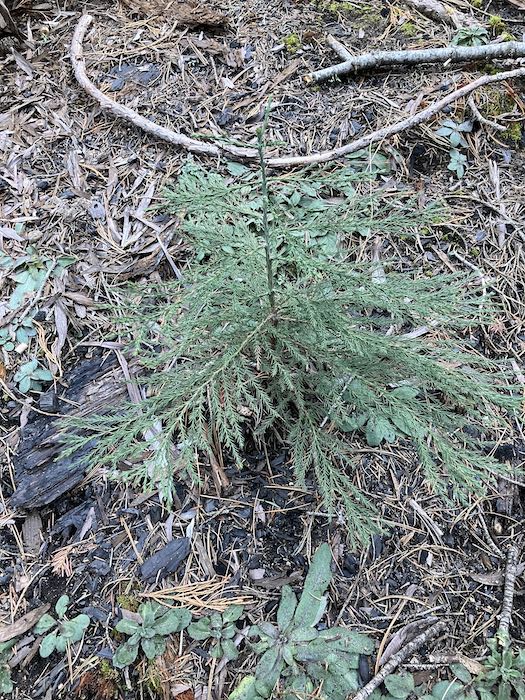
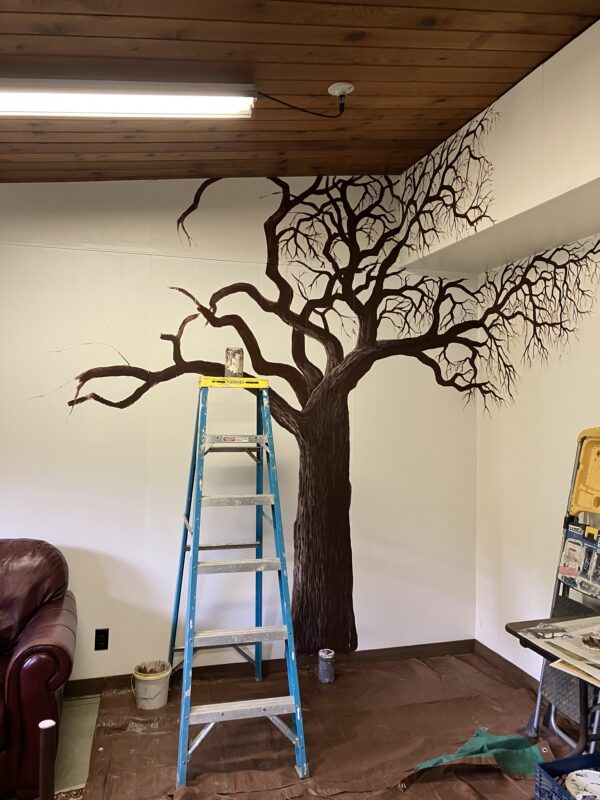
So, more branches and twigs, a decision about the length, more texture, some fuzzy green leaves the way they are looking in reality, outside, right now in Three Rivers, because this will be a one-season tree. I can’t make February last forever in real life, but I can do it on the wall.
P.S. Nope, not painting the underside of the soffit; I am NOT Michelangelo.