
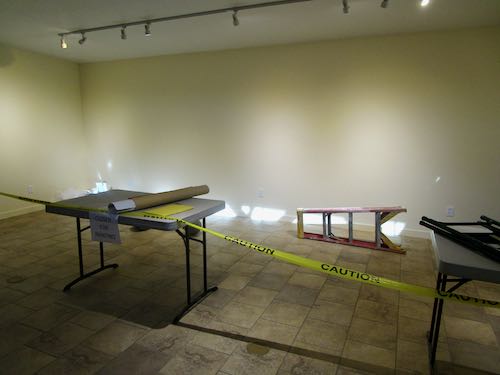
I enlarged these designs onto kraft paper, ordered some very large sheets of graphite transfer paper, gathered a few tools, and drove to the Three Rivers Historical Museum. My job bosses had prepped the wall for me, and they also blocked it off in a very serious manner, along with providing a ladder and a couple of tables. (They are TERRIFIC to work for!)
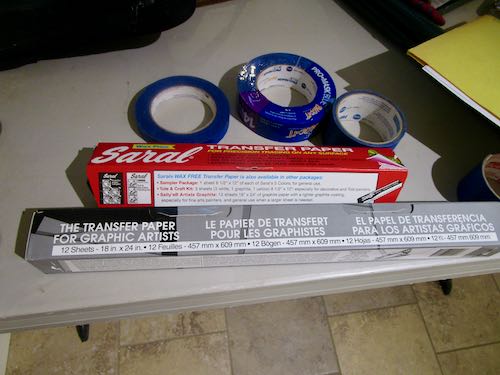
I had previously tested some carbon paper to see if I could transfer through the kraft paper, but had to go searching at Blick Art Materials for some large graphite sheets. There were two to choose from, and instead of accidentally ordering the wrong one, I bought both.
We measured the wall very carefully to mark the center and then figure out where the first design was to go. Then I taped the smallest design up, trying to see through the kraft paper to place it exactly on the mark I made, adjusting it until it was level.
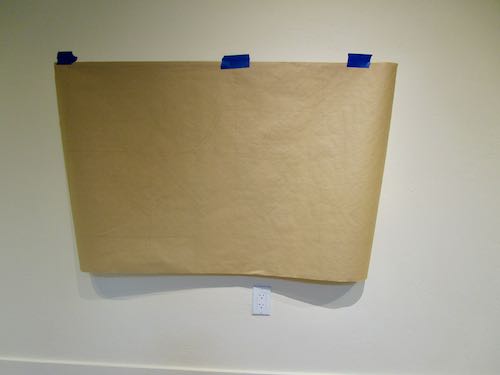
The design was drawn in pencil, so you can’t see it on this photo. I kept the bottom untaped so I could lift it up to place the graphite paper.
MASKING TAPE WOULDN’T STICK TO THE GRAPHITE PAPER!!
The museum came to the rescue with old-fashioned brown masking tape instead of the easy-removing blue type.
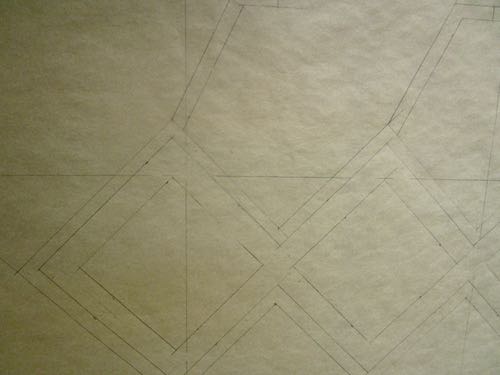
This design is called Quail, taken directly from a Yokuts basket design. I used a straight edge and traced over the pencil lines with an obsolete tool from the olden days of phototypesetting that my students and I refer to as a “spatula”. (Too hard to explain.)
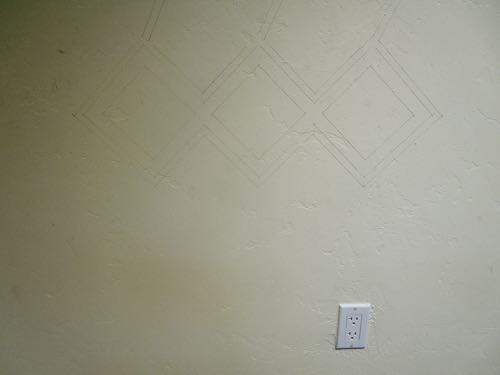
Squint hard, and you can see how it landed on the wall.
What next? I’ll show you in two days.