Today you will see what a piece of cake it is to add color to a little part of a pencil drawing. Since you have slept since I showed you how to complete the graphite pencil part, here it is again. The right edge is gray because either the scanner is lying about having a 12″ bed or the paper is lying about being 12″. 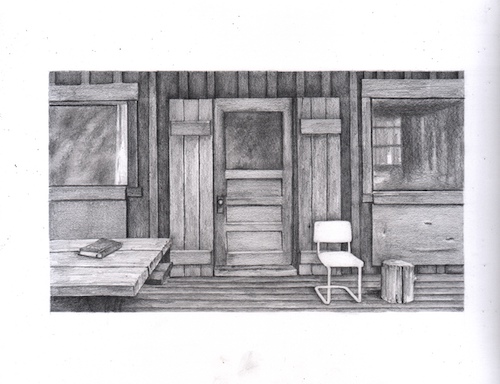
ADDING COLOR: A decision about which set of colored pencils to use
The first step was to decide which set of colored pencils to use. Because nobody cares if I match the shade of red exactlY, I chose the simplest, easiest to use set of twelve: Blackwing Colors. 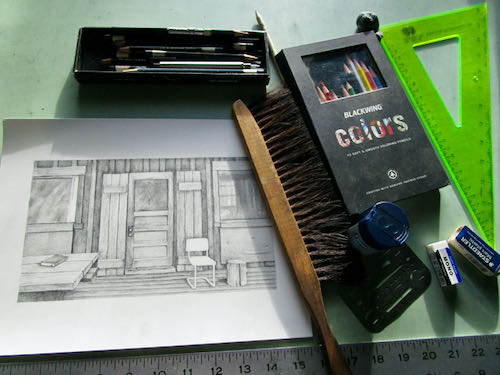
On my laptop, I enlarged the photo so that I could study the darks and lights in the chair.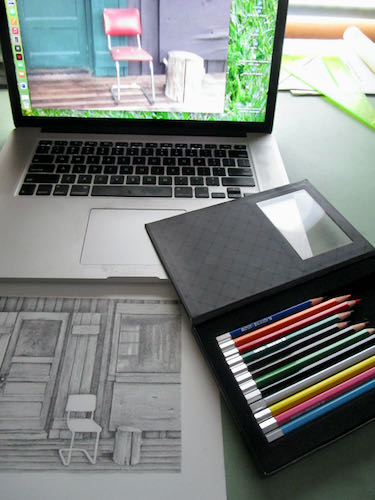
Darkest colors first: brown
My method of using color (and graphite) is to put down the darkest colors first. Because someone somewhere sometime chewed me out for using black (Pray tell, Mr. Chew-Out, why is black manufactured if its use is forbidden?), I started with brown. Using a sharp point and a light touch, with tiny motions in order to get it into all the cracks and crevices of the cratery paper, I put brown everywhere that seemed right. 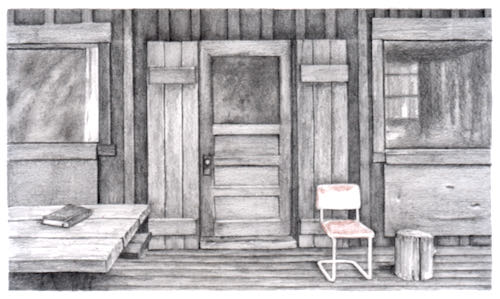
Purple
Next, I added purple over the top of the brown, and put it in new places that seemed to want it. This might sound like mysterious gobbledygook, but if we were sitting together, I would point out which of those places need which color and why. However, I have other projects ahead. So, trust your instinct when you work on your own picture, because after all, it’s only paper! 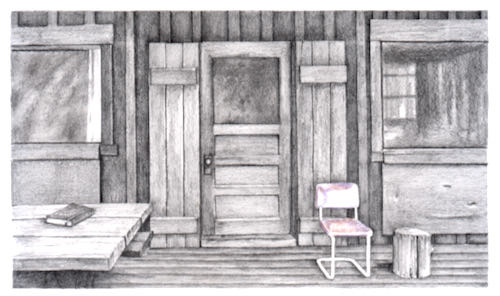
Red
Now it is time for red. I covered over the brown and purple, and put red on the places that appeared to be solidly red without those other colors dulling or darkening it. This time I did more layers, because those other colors do make me wonder if I have wrecked the less red places. Even with experience, an artist can be full of doubt, because every project is brand new.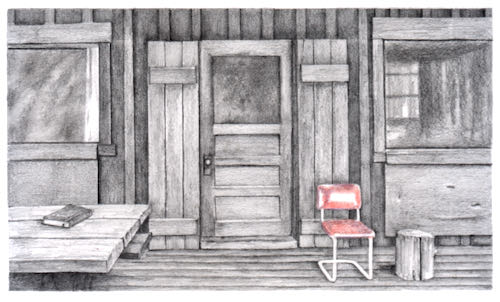 I do much of this sort of thing under my magnifier in order to not cross over the lines and to try to fill in the dips a little better. I’ve never been this old before, so I am relying more and more on my giant magnifying glass with a light bulb attached.
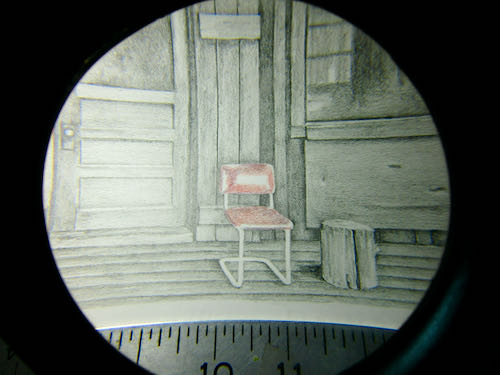
Pink
For the light red places, instead of trying to make my red pencil be less red, I chose pink. Why Blackwing considers pink to be one of the 12 basic colors is a mystery to me, but instead of trying to solve it, I just go with it. 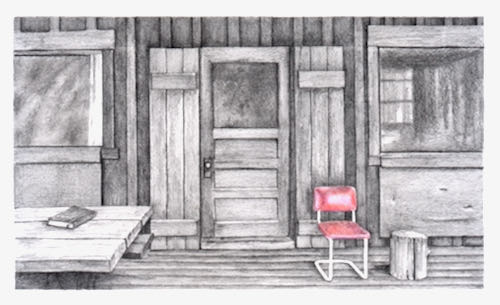
More Red
Finally, I covered everything again with red, including the pink parts, changing pressure and amount of layering with how dark or light the photo showed. If I was really getting into the minutia here, I’d probably sharpen my pencil even more and work under the magnifier to really fill in those tiny craters. But as a cowboy once said to his fence builders, “This ain’t no piany yer buildin’”. 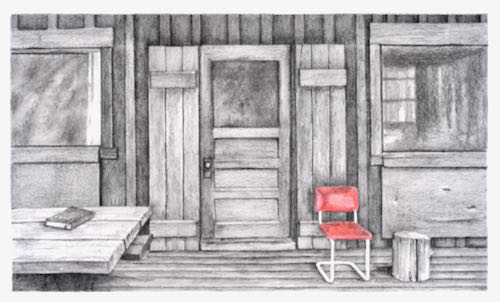
FINISHED!
In studying the metal chair legs, I decided that regular graphite pencil would do just fine. Again, I worked under the magnifer, sharpening the edges of the chair, adding a bit of darkness to indicate more shadow behind the chair and to separate the colored portion from the graphite, and generally just tidying up the whole little area. The shiny parts of the metal legs are plain paper, no pencil at all.
As I scanned the entire piece a final time, I realized that my scanner settings were still darker than normal for a pencil drawing. This final photo is the way it is supposed to be, complete with eensy little signature (done under the magnifier, of course.) 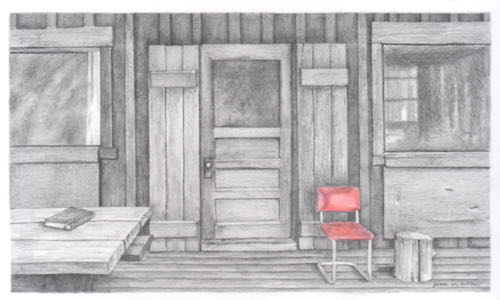
And thus we conclude my first tutorial, How to Draw With Graphite and Colored Pencils.
2 Comments
A very interesting tutorial! I’m not talented enough in the least to try something like this, but I do greatly admire your B&W drawings that add just a smidge of color; e.g., the Kaweah Post Office where just the American flag has colors. A nice touch!
Sharon, I know this tutorial is a bit much for my normal readers and a bit much for anyone new to drawing. I was using (abusing?) my readers while testing a response to the tutorial that will go on Carrie Lewis’s site. So thank you for bearing with me, and the rest of the week will just be chit-chat and photos of all the exciting wet weather.
Comments are closed for this article!