Day Six on Indoor Murals

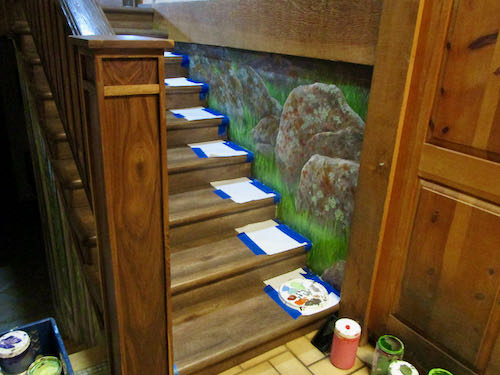
Mr. and Mrs. Customer sent a photo of the mural to their son who said, “Dad, be careful you don’t trip on those rocks!”

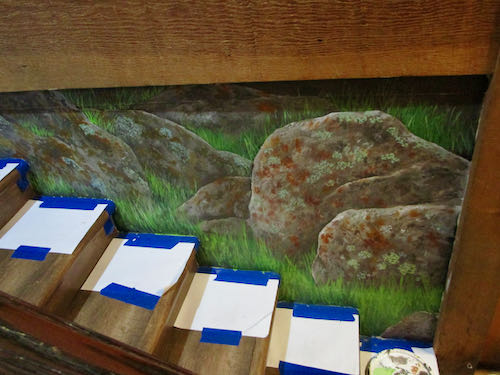
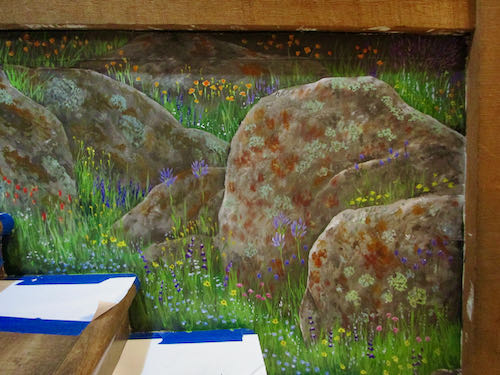
This time I started at the bottom of the stairs, adding texture to the boulders, along with more lichen.

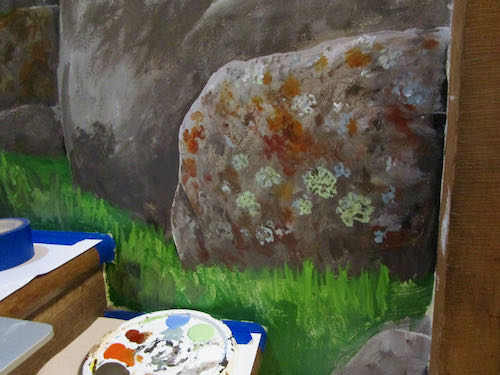
Then it was time for the flowers to start blooming. Mr. Customer said, “This is a magical place, and all the flowers bloom at the same time.” That gave me the freedom to put in every foothill wildflower that came to mind.

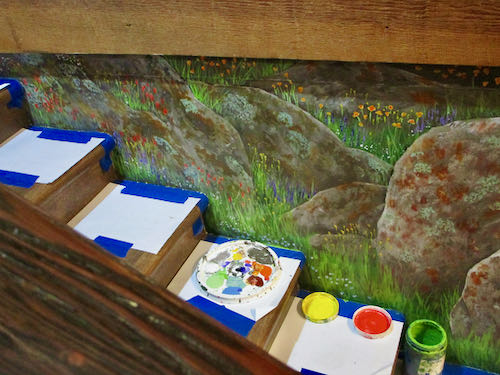
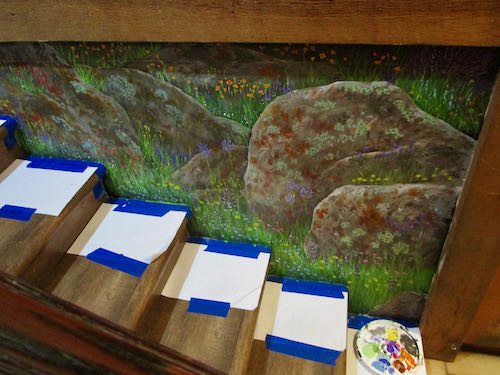
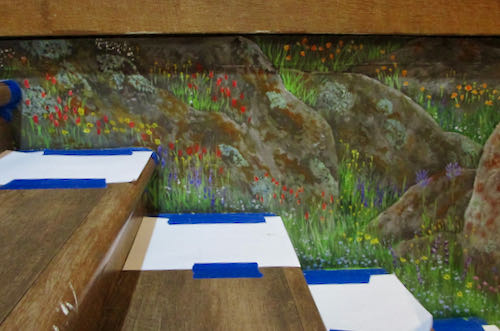
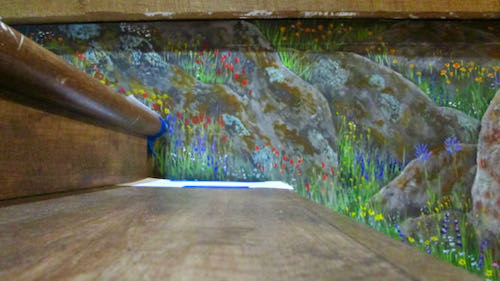
I finished the carnival of colors, and moved to the other side of the stairs. The sequoia mural that I painted 10 years ago is on the right-hand wall leading down.

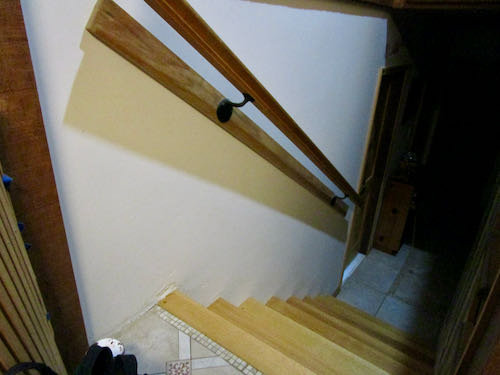
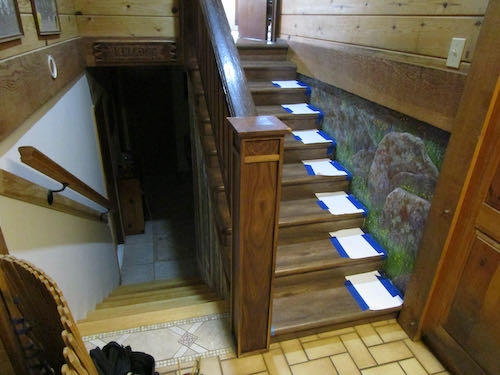
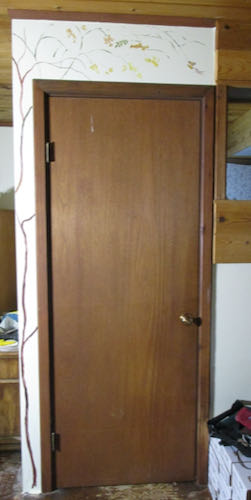
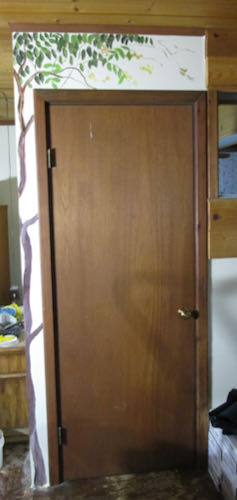
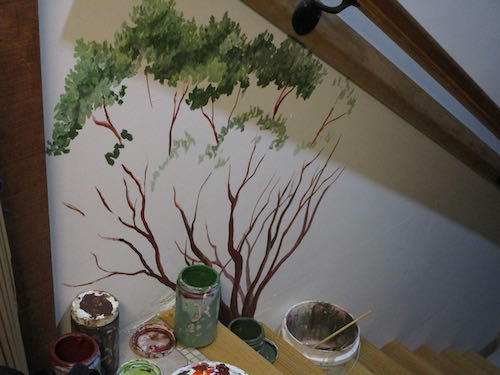
My instructions for this wall are simply a manzanita shrub.

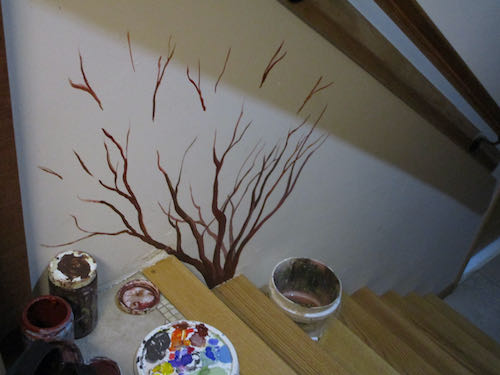
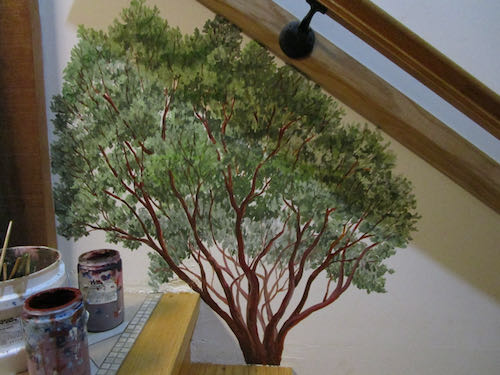
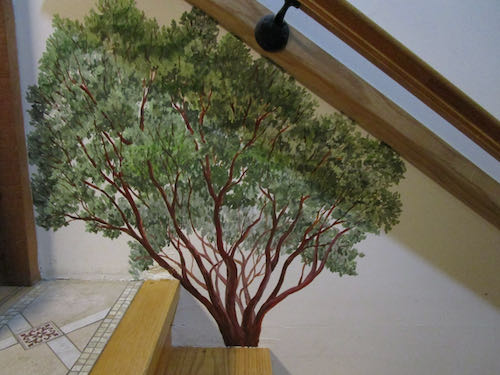
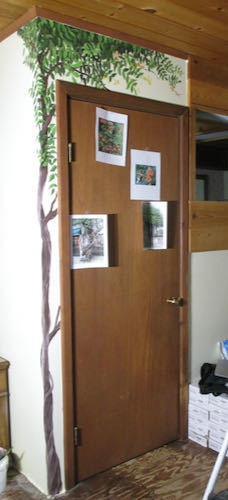
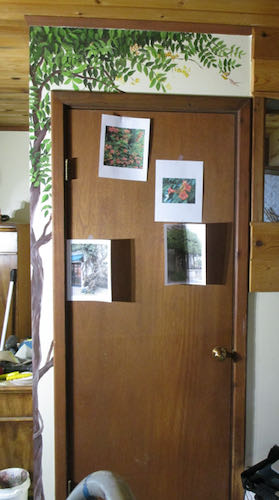
Mrs. Customer requested blooms on the manzanita. Mr. and Mrs. Customer have asked many times for me to be sure to sign and date every one of these mini murals. 

I told them to live with it all for a few days. This gives them a chance to ponder any ways to make it fit their vision better. They have great suggestions and have been right every time.

Next time, I will put blooms on the manzanita, maybe add some more leaves above and behind the bannister, fulfill any correction or addition requests, and sign everything.

Day Four on Indoor Murals

I forgot my good brushes at home. I thought about calling Trail Guy to bring them to me, and I thought about going back home to get them. Since I was the one who messed up, I didn’t want to mess up TG’s day; I also knew that if I drove back home, I’d find a reason to not go back to work. It is hard to leave home any day; on cold wet days it is even harder to leave, so leaving twice in one day was a bit much for this lazy Central California artist.

Since I wasn’t getting into tight detail yet, I decided to just use inferior brushes. No need to wear out the good ones on base layers.

The Customers and I decided that the leaves and blossoms were too small, and that the trunk would need to be wider and also to cross around the corner to the left.

I poured 3 greens onto the paint bucket lid that doubles as a palette. The greens have been mixed from the primary colors, and are very useful to have ready to go, so I always have several on hand.

Mr. and Mrs. Customer and I discussed my not having found good photos of the trunks of trumpet vine. They went to work on locating some photos, and then Mr. Customer taped them to the door.

I finished the leaves and poured out some reds, oranges, and yellows, along with a bit of white. The photos helped, although I don’t copy what I see. The specifics rarely fit exactly, paintbrushes are NOT pencils, and inferior paintbrushes are definitely not able to do the kind of details that I love. So, I pushed through some base coating to locate clumps of flowers.

On the next painting day, I WILL remember my good brushes and will detail this into shape. Just seeing the photos here on the screen gives me ideas of how to make this better.

Day Three on Indoor Murals

The goal for Day Three was to finish the wisteria and begin trumpet vine over the doorway.

The right side needs to be finished.

Then I moved back to the beginning because it takes awhile to learn how to paint a new subject, and by the time I get to the end, I have more knowledge and then have to revisit the earlier portions to make some additions and corrections.

It was a dark day, so the wisteria was too hard to photograph in full.

Next, the doorway into the room will have trumpet vine. I didn’t have the right colors, so I used whatever was on the palette to begin drawing.

This gave the Customers and I a chance to see if I am on the right track in meeting their vision. Mr. Customer has a good eye (well, I think both of his eyes are fine, but you know what I mean) and explained how far around the left edge he wants the trunk to go and how thick he would like it. Mrs. Customer would like the flowers to be life-sized, so now I know what to do when I return for Day Four.

Day Two on Indoor Murals

Why does the title say “murals” instead of “mural”? Because there will be more in this location.

I started with the hardest one of the four because there will be new flooring installed in this room next week. So far I haven’t spilled, dripped, or dropped a brush. I am making a conscious effort to be very neat, and so far I haven’t wiped my brushes on my pants once! I decided that an old pair of jeans could become my painting pants, and while I am okay with getting paint on them, I am trying to break the habit of using them as a paint rag.

Here is the progression on Day Two. 

I began on the left side, filling in behind the blossoms from Day One because it didn’t have enough depth. Then I painted in a few “strings” toward the middle. If I put in a vertical line as a stem, I can build the blossoms around it.

You can see more blossoms happening toward the middle of the vine here. I had high hopes of finishing it in two days, but hadn’t taken into account the filling in of Day One’s work.

It seemed like a good plan to put background blossoms in first – a bit lighter, a bit bluer in color, and somewhat blurry.

The closer blossoms have darker and lighter colors with more parts, including a bit of greenery. (Yes, I know it is hard to tell in these little dark photos.)

About 6 hours of painting straight is my limit. Much longer and my work starts getting sloppy. (Might even accidentally clean my brush on my pants.) So, I got off the ladder and put dirt and grass at the base of the vine. This way, if the Customers decide to move the bed, the vine won’t just drift off into Quitsville.

I wonder if I will be able to finish this on Day Three. As I move out to the right side, there will be fewer blossoms, with the heaviest concentration in the middle. More will be revealed in the fullness of time. You will probably learn about this some time next week.