Conclusion of the graphite portion of the pencil drawing
Today we will conclude the graphite part of the drawing tutorial. Tomorrow I will take you on a walk, or a cruise around the yard, or something to give your overworked minds a break from the minutia of pencil drawing. If you haven’t unsubscribed by Monday, you will see the steps of adding color to the drawing, last seen looking like this: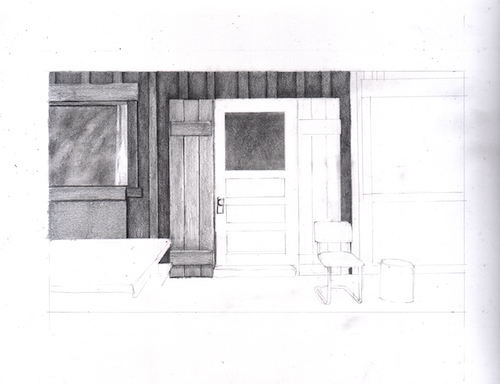
Step twelve: It is time to make a decision about the door and the shutters. In the photo, they are green and brown, and these shades are the same value (the same shade of gray if we turn the photo to black and white). I decided that the brown would be darker than the green when I did the shutter on the left. Now I want to be consistent with the green door and other green shutter, deciding which is darker and where it is darker, but in general, keeping the green lighter than all the brown. The way I do this is to only use 2B instead of 4B in the darkest cracks and for the darker edges, and do the bulk of the shading with HB. As I worked on the shutters and the door, the chair got smeary. I keep erasing it and cleaning its edges because it needs to be clean paper in order to take the colored pencil well later. 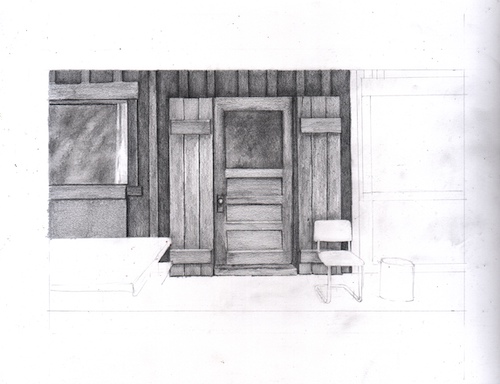
NOTES ABOUT FIXING AS YOU GO: As I shade, I find layout lines that need to be adjusted or erased. So, I take care of those as I find them while I am inching across the drawing.
Step thirteen: Moving across the rest of the scene, I am ignoring the picnic table because it seems like a giant So What, unless I figure out how to put a place setting, a mug, a book, a something on it. I allowed stroke marks show on some of the wood, always going with the direction and appropriate length of the wood grain. In this window, I started with 4B, added 2B, and finished off with B, leaving a few places without pencil. Then I used the tortillon to smooth it. This time I left a little bit of paper color and also sort of followed the shapes that appeared in the photo for a hint of what is inside the cabin. After blending it with the tortillon, I added HB to the darker places to make them even darker. 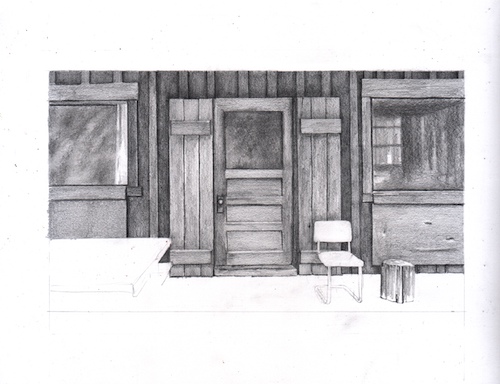
Step fourteen: A book on the table, but some confusion about what is beneath the table structurally. So, I will skip this for a bit and move next to the floor of the porch instead. Sometimes procrastinating gives my brain an opportunity to find a solution.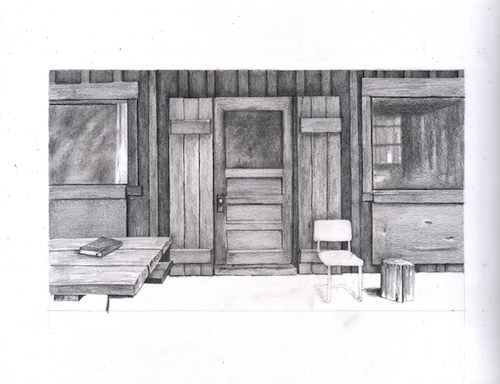
NOTES ABOUT CONFUSION: Even when working from one’s own photo, there are always areas of blurriness or seemingly irrelevant information. In spite of using a photo, some things just don’t make sense, so we have to make up things, cover them with darkness, or grow a shrub over the top.
Step fifteen: Because I have changed the perspective on this picture, the floor boards will be parallel to the horizontal edge of the drawing. Here is the photo again so you can see the how they slope upward to the right: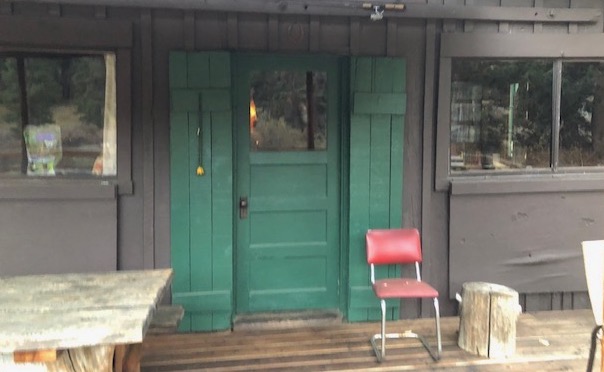
This is easy to do using my T-square, and I will guess the distances between the boards, simply eyeballing it and figure that closies count here (like horseshoes and hand grenades). Although I drew the lines using a straight edge, these boards are old and worn, so as I shade using a B, HB, and 2H, I made them a bit rough along the edges.
As I worked on the boards, my hand would have been resting on some of the completed parts of the drawing, so I put a piece of paper down to rest my hand on. 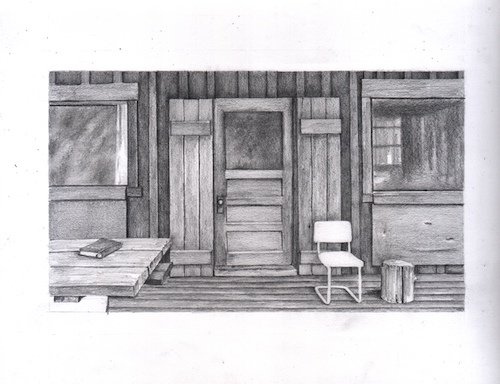
Step sixteen: All that is left to shade in pencil is the mysterious lower left corner. First, I looked at the uncropped photo to see if anything helped to explain the blobs: hmmm, some sort of legs. I could either make it all super dark (In which case I am telling my viewers, “Sorry, it was all in shadow, can’t be helped!”) or copy the blobs as I see them. This is the sort of problem that occurs when working with a photo one hasn’t taken oneself. Ahem. I think I did take this photo (unless Tracy or Dan did —thank you!), and I have actually sat at that table. But I have slept since then. . . End of excuses. I just picked up a 2B and started shading exactly what I saw, because unless it is really weird and distracting, nobody will notice or care. 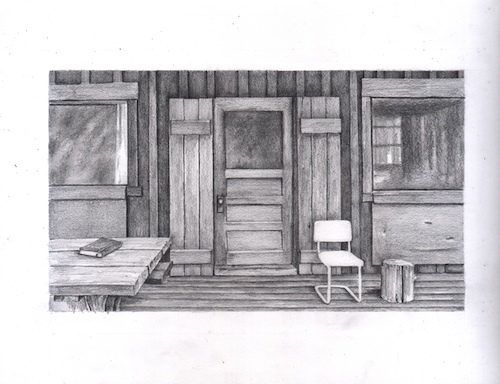
Step seventeen: that lower left corner looked ugly. The bottom left corner was very light on the photo, and that didn’t look right either. So I just darkened the whole mess, burying it in 4B. And honestly, I was losing focus after drawing, scanning, and writing about it for 5 hours, so I just might have been getting careless and sloppy.
The final steps of the graphite portion of the drawing: erasing the margins, making sure there was zero pencil on the chair, looking at everything under that giant magnifying glass on my drawing table*, and then spray-fixing it with Blair Matte Spray Fix. This means (in theory, but sometimes not in reality and I don’t know why not) that you can still draw on the piece but nothing will either smear or erase. Yes, the spray stinks. 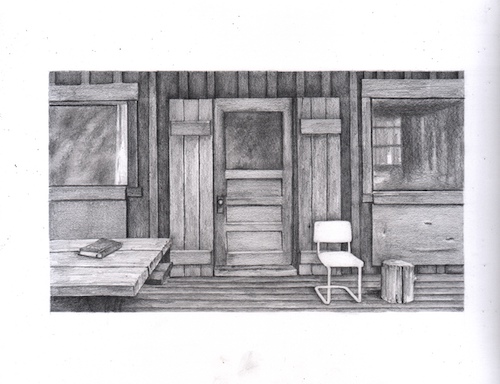
HOLY GUACAMOLE! I did this entire drawing without knowing where my real eraser is. I used the kneadable and the Tombow Mono Zero, a tiny eraser in a pen-like holder. It is best to be sure there are no pens lying around to be grabbed by accident when you use one of these—one of my drawing students did that once. Still, I sure would like to know where my Staedtler Mars white plastic eraser is hiding.
Oh for Pete’s sake. As soon as I unwrapped the stubborn cellophane off a new eraser, I looked in another pencil mug on the drawing table, and there was my old eraser. Were there trolls messing around in my studio over Christmas??
Next, we will add color. Nope, I don’t have a mouse in my pocket. This is the royal we speaking.
*See the giant magnifying glass? Also, note the mug of tea. NEVER do this. 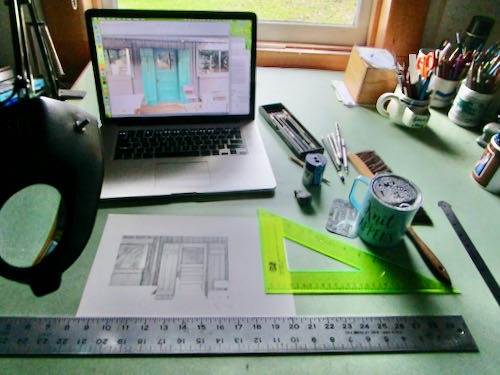
Comments are closed for this article!