First published in January 2009
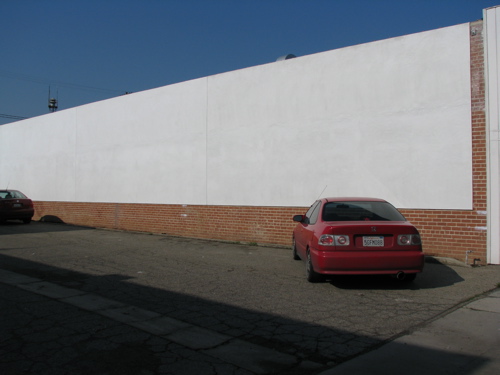
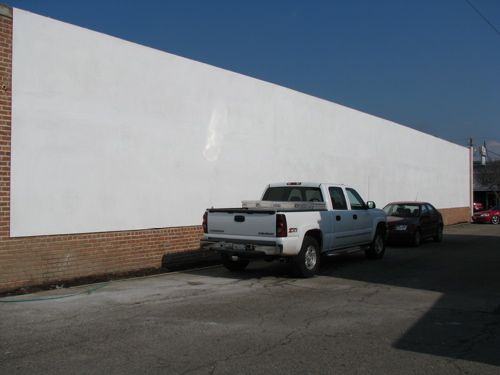
Remember overhead projectors? That is the device we hope to use to project the image on the wall. I spent 4-1/2 hours tracing the model painting of the mural onto a roll of tissue paper (the kind called “flimsy” by architects). Today I found back-up bulbs for the projector, bought a couple of boxes of magic markers, and had my tracing converted to a series of 10 transparencies. 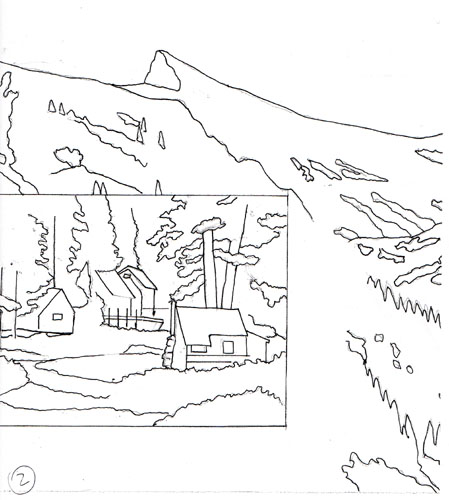 The projection takes place after dark with lots of people manning Magic Markers. The process ensures that the mural will match the model painting that has been approved. The model painting is called a “maquette”, which actually means a 3 dimensional model, but we don’t have an adequate word for a 2 dimensional model. The Mural Team requires an accurate to-scale painting before giving the go-ahead to an artist, and the artist is supposed to follow that maquette to a tee!
On my previous murals, I simply drew a small to-scale sketch and then marked off the centers of the painting surface and began drawing with my paintbrush. I thought 80″ x 80″ was huge.
Next, the Seatrain (20′ x 8′) was stunningly massive.
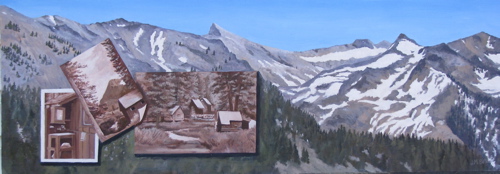
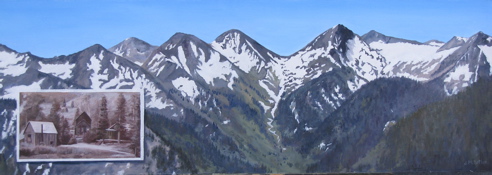
Finally I began the one on 6 4’x8′ panels and could hardly grasp the grandeur of it all. (Silly girl, Trix are for kids!) That one on panels was difficult because the design process hadn’t been fully solved before attempting the panels.
The Mural Team of Exeter has much experience (2 dozen or so murals since 1996) and knows that the design process has to be completed and adhered to in order to have any sort of control over their outdoor gallery. (I fully agree with this because I was the President of the Mural Team when we put these rules into place.)